Wood repairs
Filling a split in a table top without hiding it
Sawdust and glue, a wooden butterfly key, or a strip of matched timber. The choice is made by how much the split still moves between summer and winter.
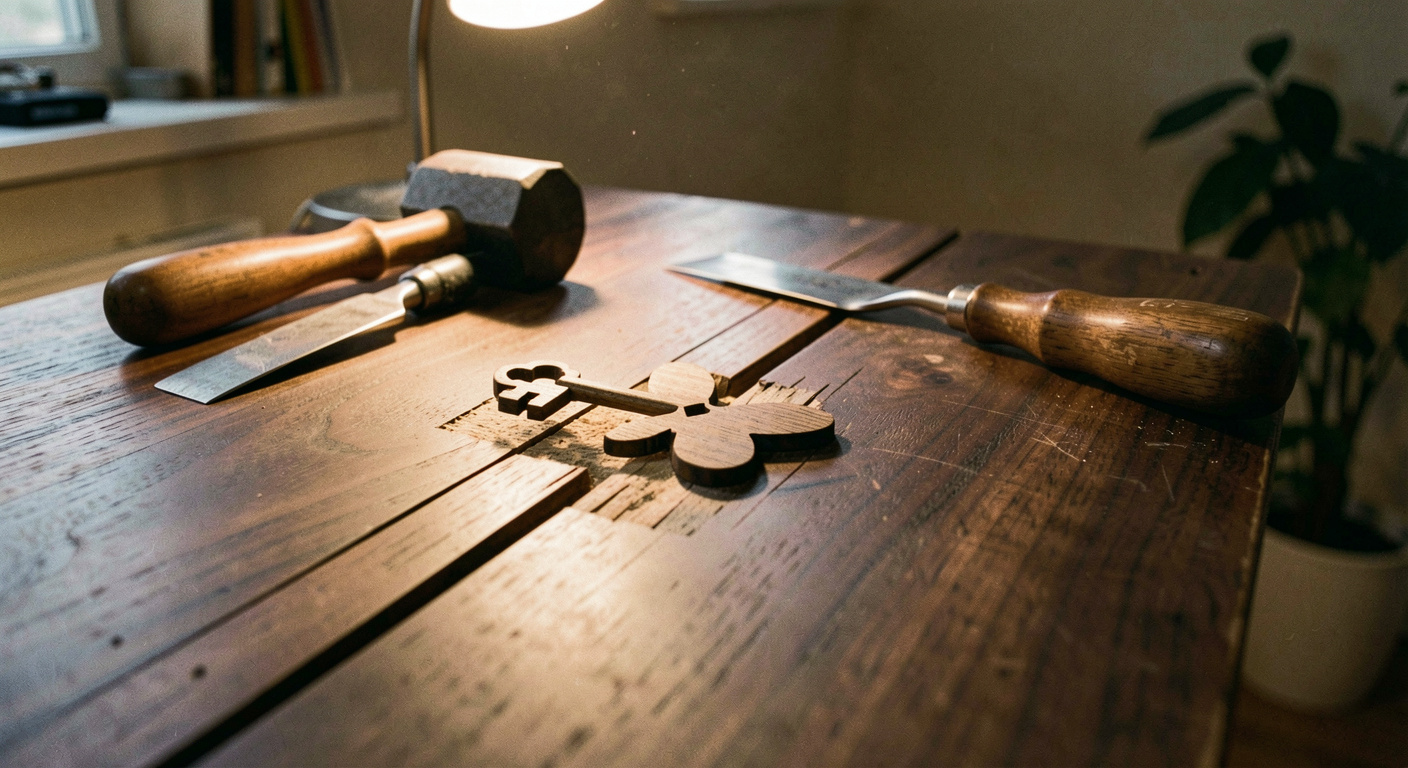
A split in a solid table top is a piece of information before it is a fault. It tells you that the top is fixed to its frame in a way that stops it moving, that the room dries out in winter more than the wood can tolerate, or both. Filling the gap without dealing with that is the repair that reopens next February, half a centimetre further along.
The top in this entry is a walnut dining table, 1600 by 900 mm, with a split running about 380 mm in from one end. It had been filled once already with a coloured wax, which had fallen out.
First find out whether the split still moves
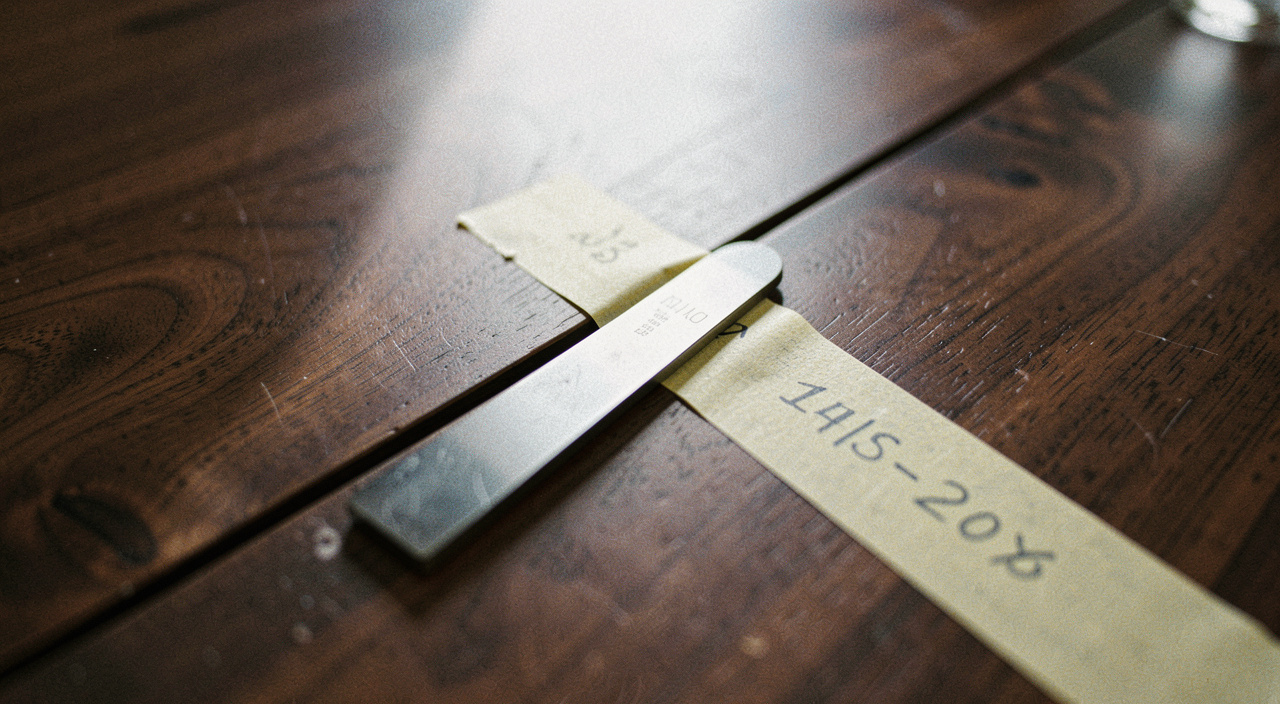
Take a feeler gauge, or a strip of card of known thickness, and measure the width of the split at three points. Write the numbers and the date on a piece of masking tape stuck under the table. Then measure again a fortnight later, ideally after a change in the weather or after the heating has been on for a week.
- Width unchanged: the split is stable, and it can be filled solid with anything that matches.
- Width changing by less than half a millimetre: it moves, and it needs a filling that can flex, or a repair that lets the movement happen elsewhere.
- Width changing by a millimetre or more: the top is being restrained. Fix that first or the repair is decorative only.
Restraint is nearly always at the fixings. A solid top screwed hard to a frame through round holes cannot expand and contract across its width, so it splits instead. The cure is to open those holes into slots running across the grain, or to fit buttons that slide in a groove. Ten minutes underneath the table saves the repair on top of it.
Four ways of filling, and when each is right
| Method | When it is the right answer |
|---|---|
| Sawdust and glue | Hairline splits under 1 mm that do not move. Use dust from the same board |
| A matched timber strip | A stable split of any width. The strongest and the least visible |
| Butterfly key across the split | A split that is still moving or still running. It arrests it and shows the repair honestly |
| Coloured wax or shellac stick | Cosmetic only. Reversible, and it falls out of anything that moves |
Two of those are worth expanding on, because they are the ones that solve the actual problem rather than covering it.
The matched strip
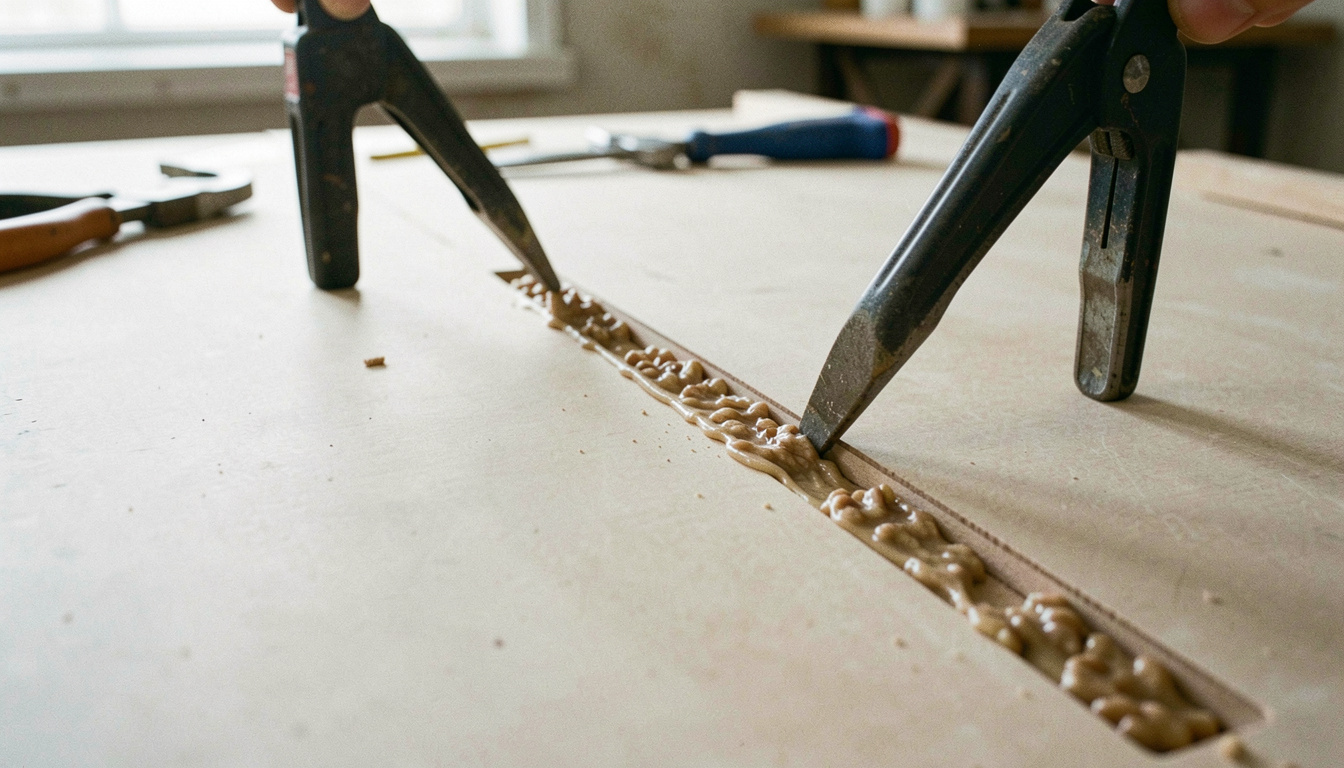
If the split is stable, the best repair is to make it into a clean sided slot and glue a piece of the same timber into it. Run a router or a fine saw along the split to give two parallel faces, plane a strip to a push fit, and match the grain direction and the growth ring angle rather than just the colour.
Glue with PVA or hide glue, clamp across the width, and leave it a full day. Plane the strip down proud, then finish flush with a card scraper rather than abrasive paper: paper cuts the softer of the two woods faster and leaves a dished line along the joint. The choice of glue matters less here than the fit, since both surfaces are long grain.
The butterfly key
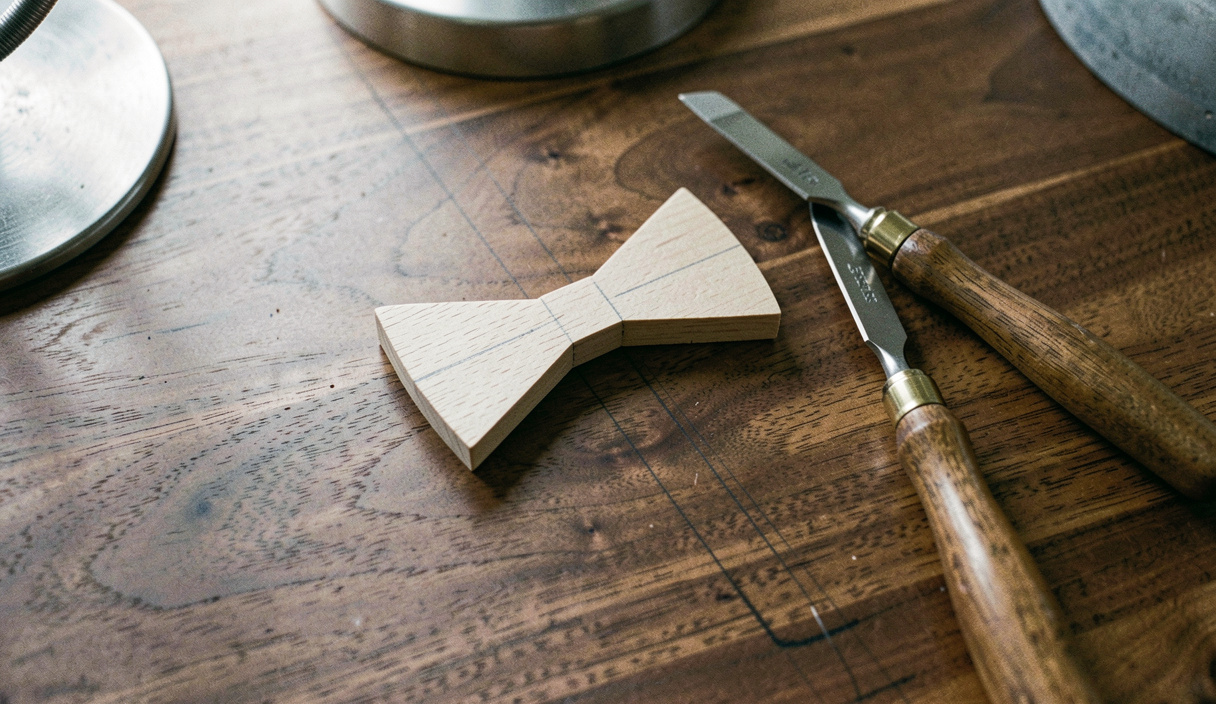
A butterfly key, or a dutchman, is a bow tie shaped piece of wood let into the surface across the split. Its two wide ends sit in sound timber either side, so the waist of the key resists the split opening further. It is a mechanical fix, and it works on a split that is still live.
- Make the key first, in a contrasting or matching timber, 6 to 8 mm thick and roughly a third the width of the board's thickness in each direction.
- Lay it over the split at 90 degrees to it, and scribe round it with a marking knife rather than a pencil. The knife line is the shoulder the key will sit against.
- Remove the waste with a small router or by chopping with a chisel, taking the depth to about 1 mm less than the key thickness so it stands proud.
- Pare the walls back to the knife line, checking the fit with the key held over the recess, until it goes in with hand pressure.
- Glue, tap home, and plane or scrape flush once dry.
Two keys on a 380 mm split, one at each third, is the usual arrangement. They will be seen, and they should be: a repair that hides itself is a repair nobody knows is there when the table is moved or refinished.
Cutting the recess to the key, never the key to the recess
Make the butterfly first and scribe round it. Chopping a recess and then trying to fit a key to it means matching two angled shoulders exactly, which nobody does first time. The other way round, only one part has to be accurate.
Finishing over the repair
Whatever went into the split will take finish differently from the surrounding wood. End grain in a butterfly key drinks oil and goes darker; a glue line stays paler. Test on a scrap first, and expect to adjust: a wash of very dilute finish on the surrounding area before the main coats evens things out, as does a coat of shellac on the key alone.
If the top is being oiled, the entry on what actually cures in a tin of oil covers the coats and the timing. The important part here is only that a repair looks worse under oil before it looks better, and the temptation to sand it back at coat two should be resisted.
- Measure the split twice, a fortnight apart, before deciding anything.
- Free the top from its frame if the fixings are stopping it moving.
- Scrape flush, never sand flush, across two different timbers.
- Keep the offcuts from any solid top you own. They are the only true colour match you will get.
Read next on the bench
The other furniture entries are listed in date order in the section index.
Back to Wood repairs