Sharpening
Sharpening a chisel on water stones
Two stones, a flat surface and ten minutes at the sink. The whole sequence, from a chisel that skids off end grain to one that pares a shaving you can see through.
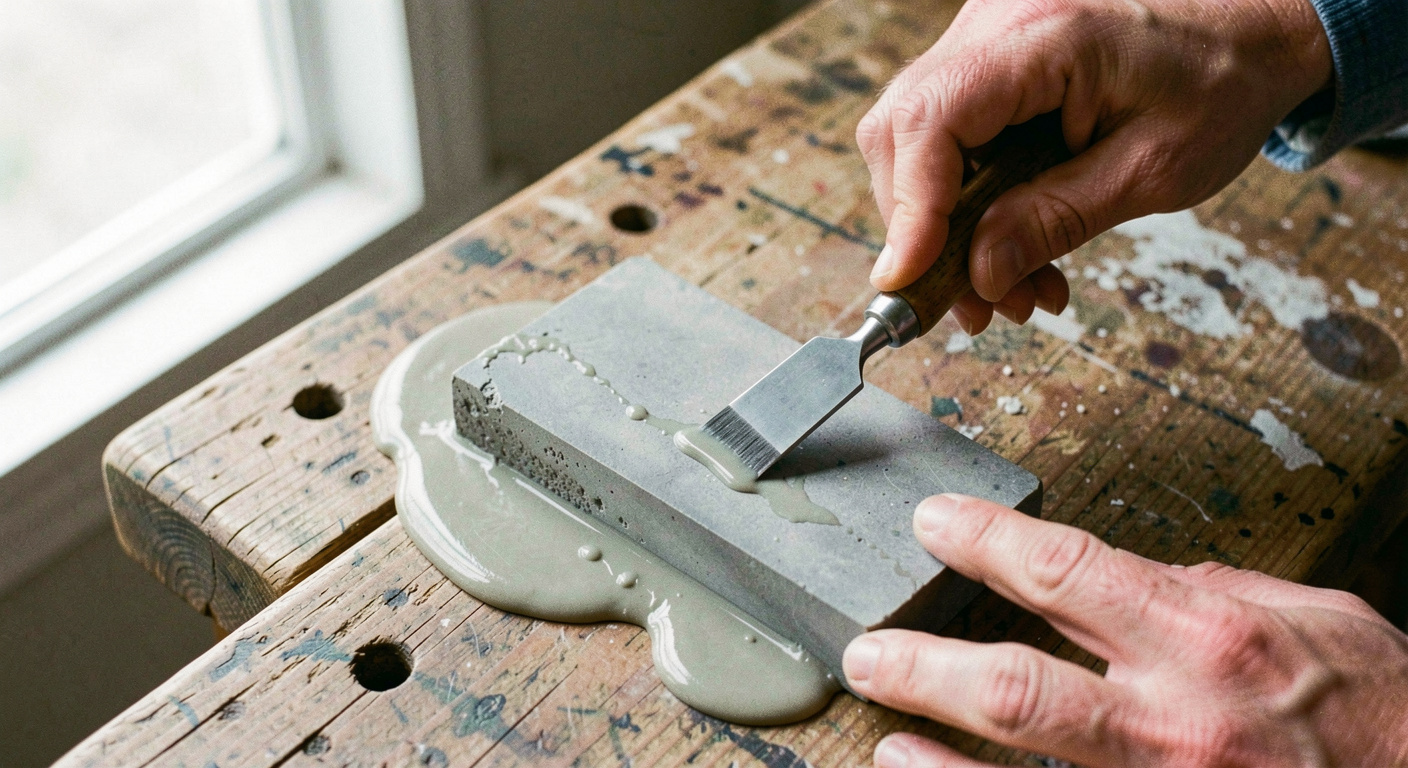
A blunt chisel is not a chisel with a worn edge. It is a chisel whose edge has become a rounded surface instead of a line, and that rounded surface is what skids across end grain and crushes the fibres rather than slicing them. Everything in the sequence below exists to bring two flat surfaces, the back and the bevel, back into meeting at a single line. Once that is clear, sharpening stops being a mystery and becomes a short, repeatable job.
Water stones do this quickly because they wear. The abrasive breaks away as you work, exposing fresh grit, which is why a water stone cuts faster than an oilstone of the same grade and why it needs flattening more often.
What is on the bench
| Item | What it does here |
|---|---|
| 1000 grit water stone | Cuts the bevel back to a fresh line and raises the burr |
| 6000 grit water stone | Polishes both surfaces so the line is clean rather than ragged |
| Flat plate or coarse diamond stone | Keeps both stones flat, which is what keeps the edge straight |
| Shallow tray and a towel | Contains the water and stops the stone sliding on the bench |
| Leather strop, optional | Takes off the last of the burr without touching the geometry |
A honing guide is not on that list. It holds a truer angle than a beginner's hands, but it adds two minutes of setting up to a two minute job, and the tool that takes fiddling is the one that stays in the drawer while you carry on with a dull chisel. Learn the freehand grip first.
Soaking, and flattening the back
Put the 1000 grit stone in water until the bubbles stop, usually five minutes. The 6000 grit stone normally needs no more than a splash on its face; soaking a fine stone for a long time can soften it. Set both on a damp towel so nothing slides.
The back is flattened once in the life of the tool, then only touched up. Lay the chisel back down on the 1000 grit stone with the handle low and work the first 20 mm until the area behind the edge is uniformly scratched. New chisels are often slightly hollow there straight from the shop, and if the back is not flat the edge cannot be a straight line whatever happens to the bevel. This is the one step worth ten minutes of patience.
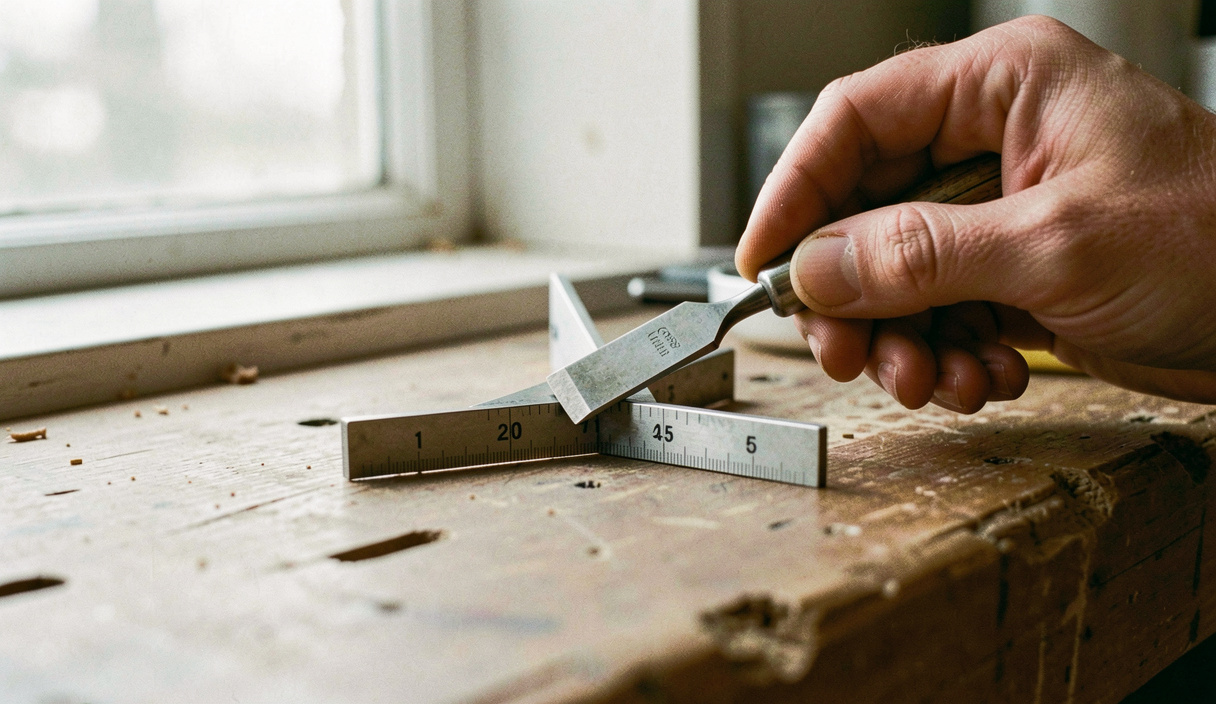
The bevel: finding 25 degrees and holding it
Most bench chisels leave the factory at 25 degrees, which suits paring and light mallet work; one used for chopping mortices does better at 30. Rather than measuring, rock the bevel on the stone until you feel it sit down on its full face. That is the existing angle, and matching it is faster than changing it.
- Grip the chisel with the fingers of the trailing hand pressing down just behind the edge, and lock both wrists. The movement comes from the shoulders and hips, not from the wrists.
- Work the length of the stone in slow strokes, keeping the pressure even. Ten to twenty strokes on a chisel that is merely dull; more if the edge is chipped.
- Stop and feel the back of the edge with a fingertip drawn away from the steel. A wire burr should be detectable across the entire width. Where there is no burr, the stone has not yet reached the edge.
- Carry on until that burr runs from corner to corner. This is the only reliable sign that the bevel and the back have met.
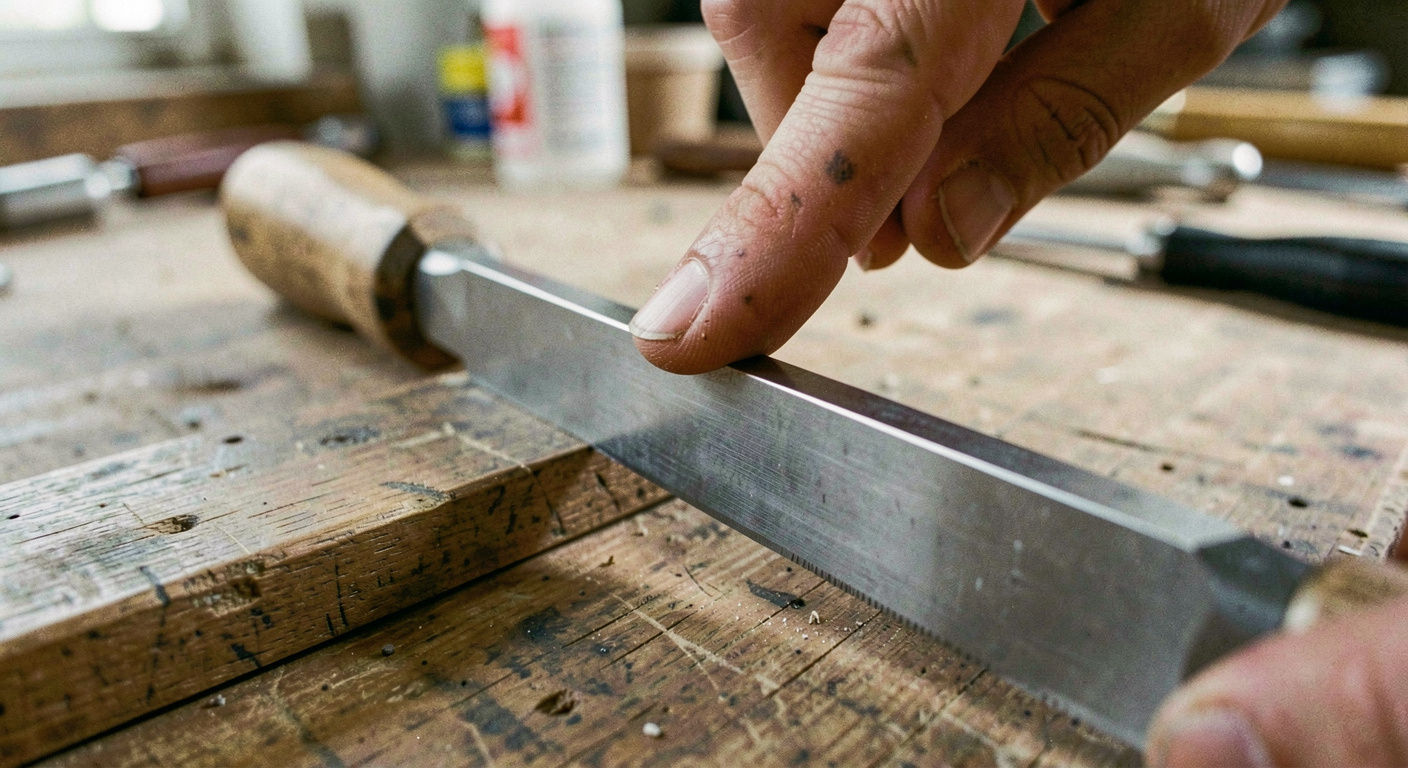
6000 grit, then the burr
Move to the fine stone and repeat the same two positions: the bevel, then the back laid flat. Half a dozen strokes on each is enough, since you are polishing scratches rather than removing metal. Alternate the sides and reduce the pressure with each pass. The burr does not vanish, it thins until it breaks away.
The mistake that undoes the work
Lifting the handle while polishing the back rounds the edge over in a single stroke and puts you back where you started. Keep the back dead flat on the stone every time it touches, without exception.
If you keep a strop, ten light passes on the bevel and five on the back finish the job. If you do not, drawing the edge once through the end grain of a scrap of softwood will pull the remaining burr off cleanly.
Two tests, no thumbs
- Hold the edge up to a window. A dull edge shows a fine white line where light reflects off the flat; a sharp one shows nothing at all.
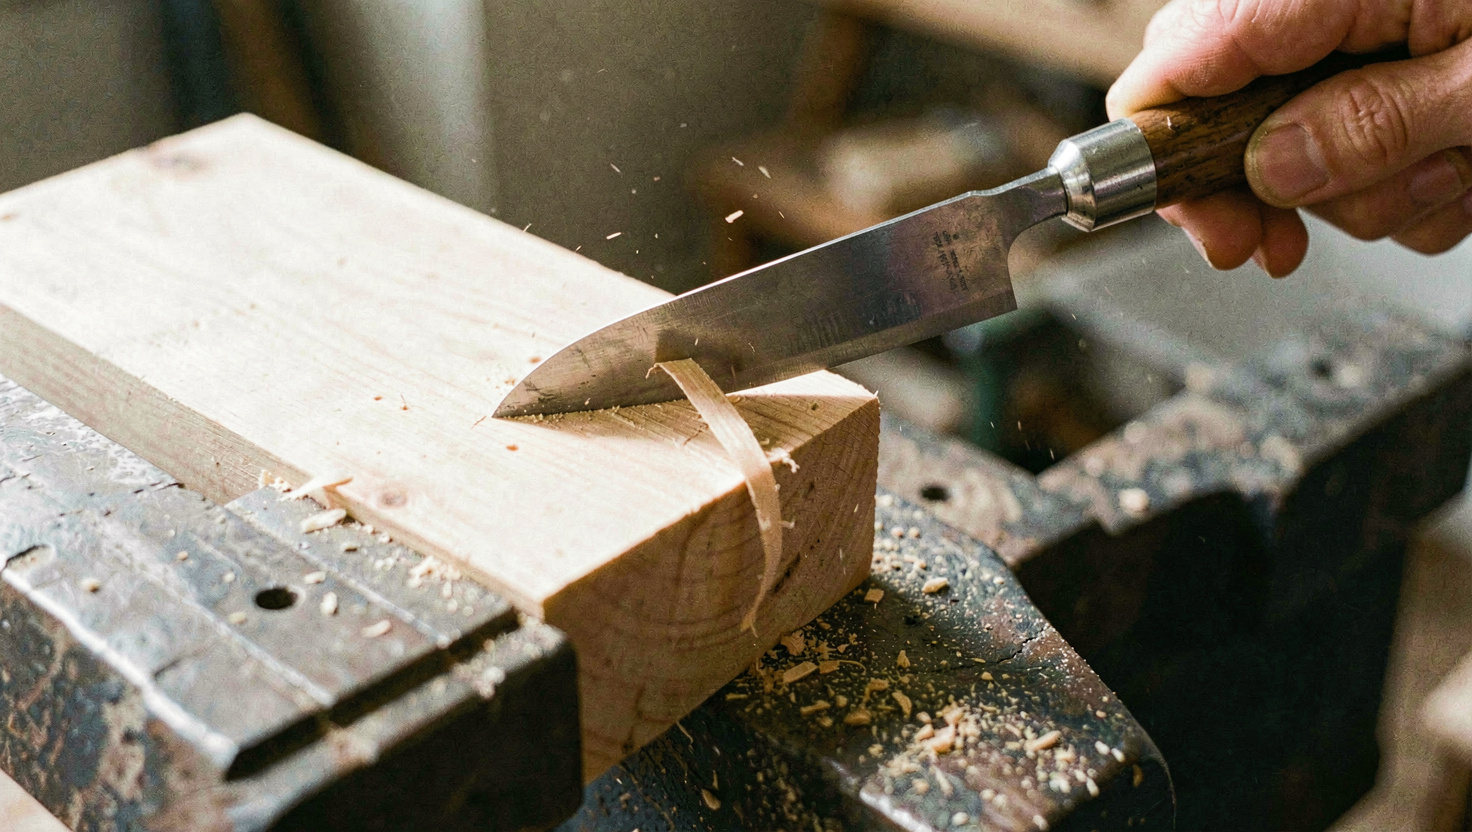
- Pare across the end grain of a piece of pine. A sharp chisel lifts a continuous curl and leaves a shiny surface; a dull one crumbles the fibres and leaves them grey.
Both are better than running a thumb along the edge, which tells you little and occasionally costs blood. Keep the offcut of pine on the bench.
How often, and what wears out
A chisel used for fitting hinges and cleaning joints wants a touch up on the fine stone every hour or two of cutting, which takes under a minute and never goes back to the coarse stone. The full sequence is only needed once the edge has been chipped, or once enough touch ups have rounded the bevel past the point where the fine stone reaches the tip.
The part that wears out fastest is not the chisel, it is the stone. Every stroke takes a little from the middle of the face, and a hollow stone will grind a curve into a straight edge without you noticing. Check for flat with a pencil grid before each session.
Ten minutes, twice a month, is the whole cost of never working with a blunt chisel again.
Read next on the bench
The rest of the sharpening entries, in date order, sit in the section index.
Back to Sharpening