Sharpening
Grinding a new bevel without burning the steel
Blue at the tip means the temper has gone and the edge will not hold. Light passes, a jar of water at the elbow, and the signs to watch on a badly chipped chisel.

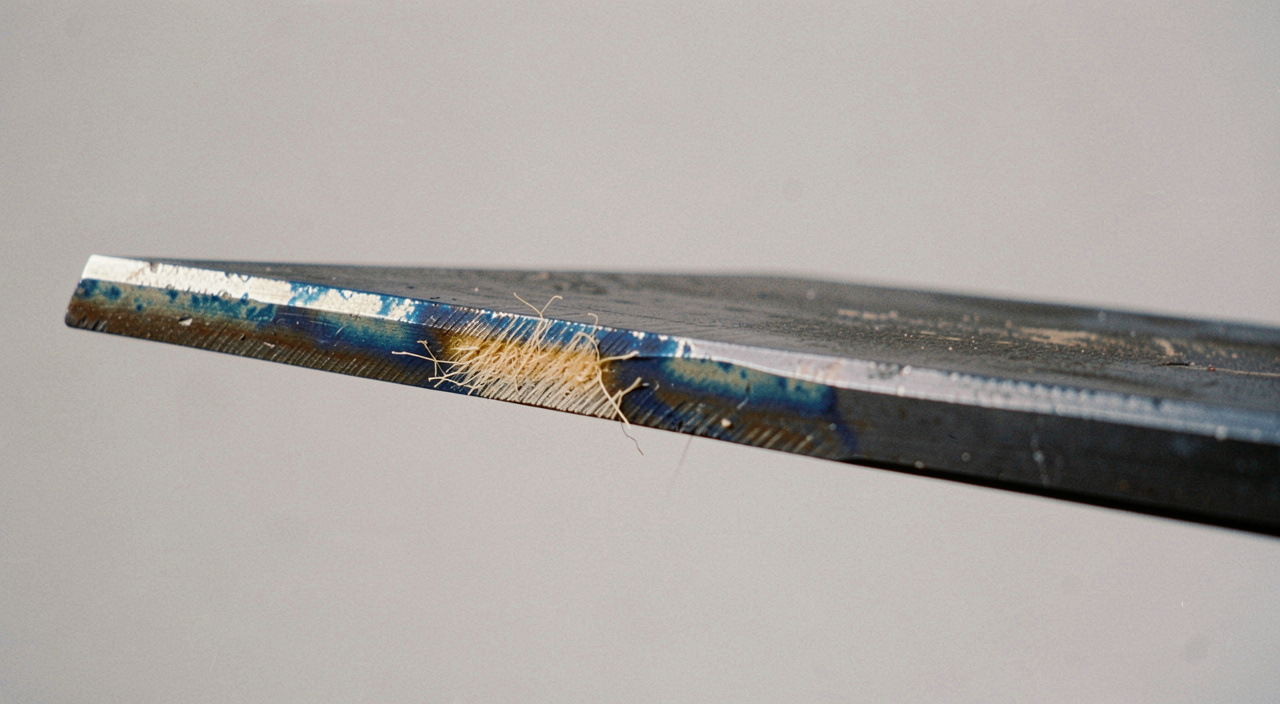
Blue at the tip of a chisel is not a stain, it is a temperature record. Carbon steel that has reached about 290 degrees has lost most of its hardness, and no amount of subsequent sharpening brings it back: the edge will simply roll over the first time it meets oak. The grinder is the fastest tool on the bench for reshaping an edge and the only one that can quietly ruin the tool while you are looking at it.
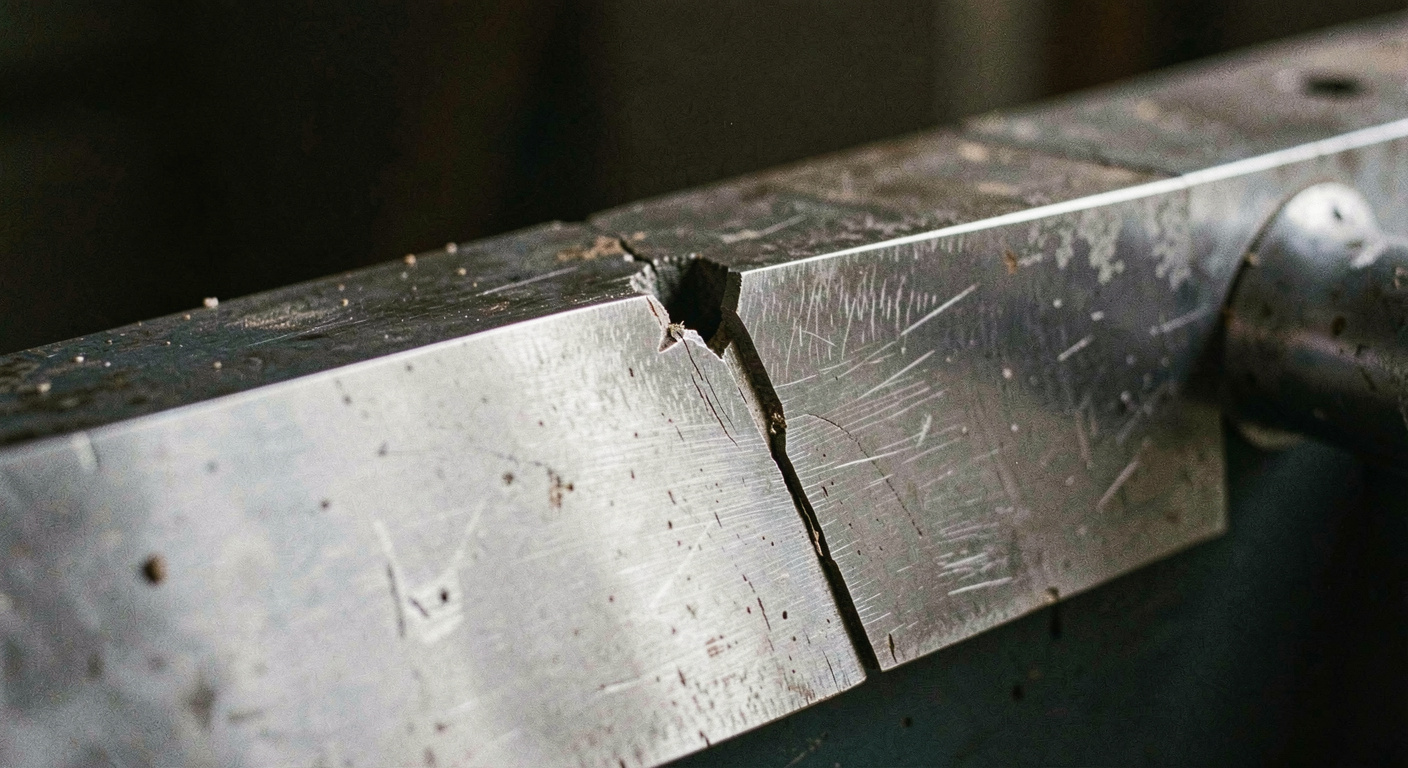
What follows is the routine used here on a 25 mm chisel with a chip about 1.5 mm deep, the kind of damage a hidden nail leaves. On a 1000 grit stone that chip would have taken the better part of an hour. On the grinder it took four minutes.
When the grinder is the right answer
- A chip deeper than about 0.5 mm, which is roughly the thickness of a fingernail edge.
- A bevel that has been honed round over years until the stone no longer touches the tip.
- A bevel that is out of square by more than a degree or two across the width.
- A change of angle, from 25 degrees for paring to 30 for mortice work.
Everything else belongs on a stone. Routine sharpening on a grinder wears the tool away at a rate that shortens its life by years, and the heat risk is present every single time. The grinder is a repair tool, not a maintenance one.
What is on the bench
| Item | What it does here |
|---|---|
| Bench grinder, 150 mm, at 2850 rpm | The common household size. Slower is better if you have the choice |
| White aluminium oxide wheel, 60 grit | Friable, so it breaks down and stays cool. The grey wheel supplied with most grinders does not |
| Wheel dresser | Trues a glazed or grooved wheel. A glazed wheel rubs, and rubbing is what burns steel |
| Jam jar of cold water | Sits at the elbow. The tip goes in every few seconds, not every few passes |
| Adjustable tool rest | Set once, checked with a sliding bevel, then left alone |
| Permanent marker | Blacken the bevel to see exactly where the wheel is touching |
The wheel is the single most useful change anyone can make to a cheap grinder. A white aluminium oxide wheel costs little, cuts cooler because its grains fracture and expose fresh edges rather than glazing over, and turns a tool that burns steel into one that does not.
Setting the rest, and blackening the bevel
Set the tool rest with a sliding bevel or an angle gauge so the tool meets the wheel at the angle you want, then check it by blackening the existing bevel with a permanent marker and touching it to a stationary wheel. Where the black is rubbed away tells you whether you are catching the heel, the tip or the whole face.
Grinding on the face of a wheel produces a hollow ground bevel, slightly concave across its width. That is not a defect: a hollow bevel gives two contact points on a flat stone, which makes freehand honing far easier and much faster afterwards. It is one of the reasons a ground and then honed edge is quicker to maintain than a flat bevel.

The routine that keeps the steel cool
- Dress the wheel first if it is shiny, grooved or loaded with metal. A dull minute here prevents the damage.
- Grind the edge square before touching the bevel: hold the chisel flat against the rest, edge to the wheel, and take the chip out by shortening the tool. Two or three passes.
- Now the bevel. Move the tool steadily side to side across the wheel face rather than holding it still. A stationary tool heats one spot.
- Count to three, then quench. Not to ten. The tip is the thinnest part and it heats faster than anything you can feel through the handle.
- Watch for a faint straw colour, which is the warning. Blue is the failure and it arrives a second later.
- Stop grinding when a thin wire edge appears along the whole width, and finish on stones.
Light pressure is the other half of it. Pushing harder does not remove more metal, it generates more heat, and a friable wheel cuts best under the weight of the tool alone. If the wheel is not cutting under light pressure, it needs dressing.
If the tip does turn blue
The damage is only as deep as the discolouration, which is usually well under a millimetre. Grind the blue away entirely, keeping the tool cool this time, and the steel below is unaffected. What you must not do is hone the blue edge and hope: it will feel sharp and will not hold for ten cuts.
Finishing on stones
A ground edge is not a sharp edge. It is a shaped one, with a coarse scratch pattern and a ragged wire along the tip. The finishing is the ordinary honing sequence, and because the bevel is hollow it goes quickly: the stone touches only the heel and the tip, so there is very little metal to move.
Flatten the back first if it has not been done, then hone the bevel on a medium stone until a burr runs corner to corner, then polish and remove the burr. The whole sequence is set out in the water stone entry, and the stones themselves need to be flat before any of it means anything, which is a job of its own.
After that, a well ground chisel should not see the grinder again for a year or more. Every touch up happens on the fine stone, riding on the hollow, until enough honing has flattened the hollow out and the tool comes back to the wheel. That cycle, four minutes at the grinder and a minute on the stone a dozen times, is the whole working life of a bench chisel.
Read next on the bench
The whole run of sharpening entries sits in date order in the section index.
Back to Sharpening