Hand tools
Rehandling a hammer with an ash haft
Getting the old haft out, sizing the new one to the eye, and setting the wedges so the head stays where it is put. Twenty minutes and a vice.
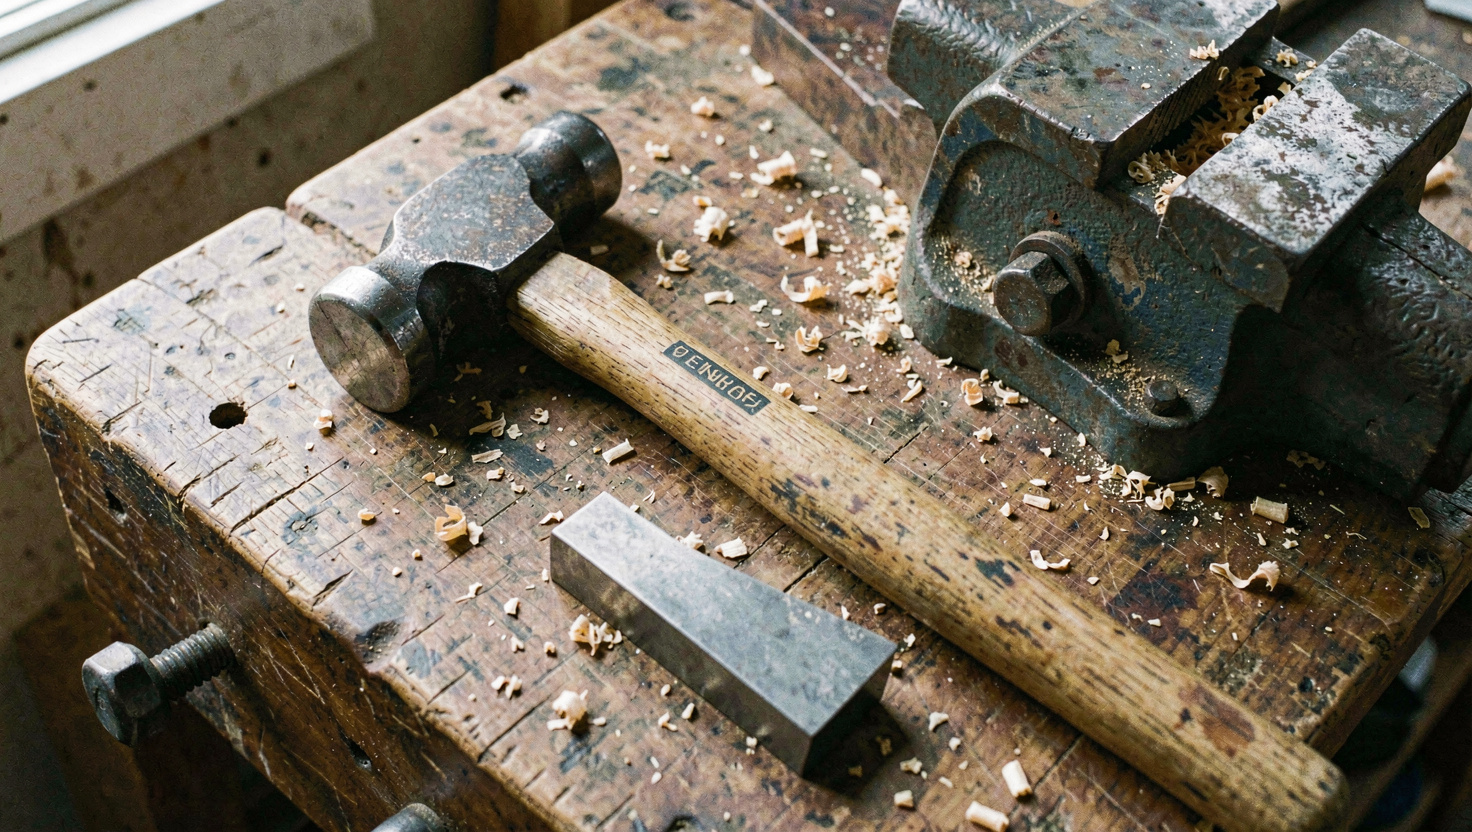
A hammer head outlasts several handles, and a loose head is dangerous long before it comes off. The repair takes about twenty minutes of work, costs the price of a haft and two wedges, and is one of the few jobs where the finished result is genuinely better than a new tool: you can shape the handle to your own hand and choose the grain, which no factory does.
The hammer here is a 20 oz claw hammer with a cracked hickory haft. The replacement was an ash blank, sold oversize and meant to be fitted rather than dropped in.
Getting the old haft out
Saw the handle off flush with the top of the head. That leaves a plug of timber and the old wedges sitting in the eye, which is the tapered hole through the head, and the plug is driven out from the top downwards because the eye is narrower at the top than at the bottom.
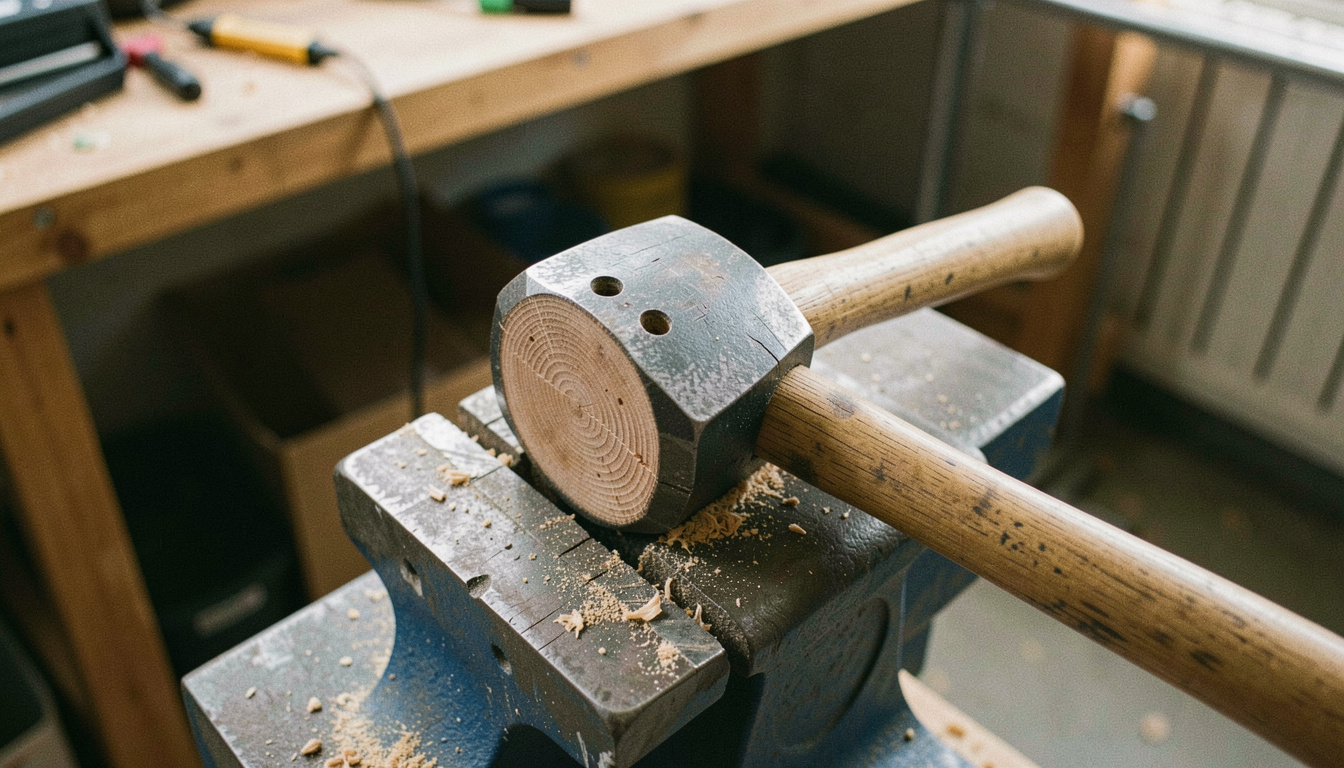
- Clamp the head in a vice, cheeks between soft jaws, with the top of the eye facing up.
- Drill two or three 8 mm holes down through the plug to relieve the pressure. Do not drill into the head itself.
- Drive the remains out with a punch and a heavy hammer. A steel wedge may need to be dug out first with an old screwdriver.
- Clean the inside of the eye with coarse abrasive wrapped round a stick until the metal is bright. Rust and old glue both stop a new haft seating.
If the head is worth keeping, this is the moment to look at it properly: a mushroomed striking face wants grinding back before it chips, and a claw with a cracked root is scrap. Take the mushroomed edge off with light passes and keep the steel cool, for exactly the reasons set out in the grinding entry.
Choosing the blank
| What to look at | What you want |
|---|---|
| Species | Ash or hickory. Both bend and absorb shock; beech and birch do not |
| Grain direction on the end | Growth rings running along the striking axis of the head, not across it |
| Grain runout on the face | Lines running the length of the handle. Lines that run off the side within 200 mm are a break waiting |
| Knots | None, anywhere |
| Finish as sold | Bare. A varnished handle is a blister factory and hides the grain |
Grain runout is the one that gets ignored and the one that breaks handles. Hold the blank up and follow a single line from one end. If it exits through the side of the handle in the first 200 mm below the head, the handle has a short grain weak point exactly where the load is highest.
Fitting the haft to the eye
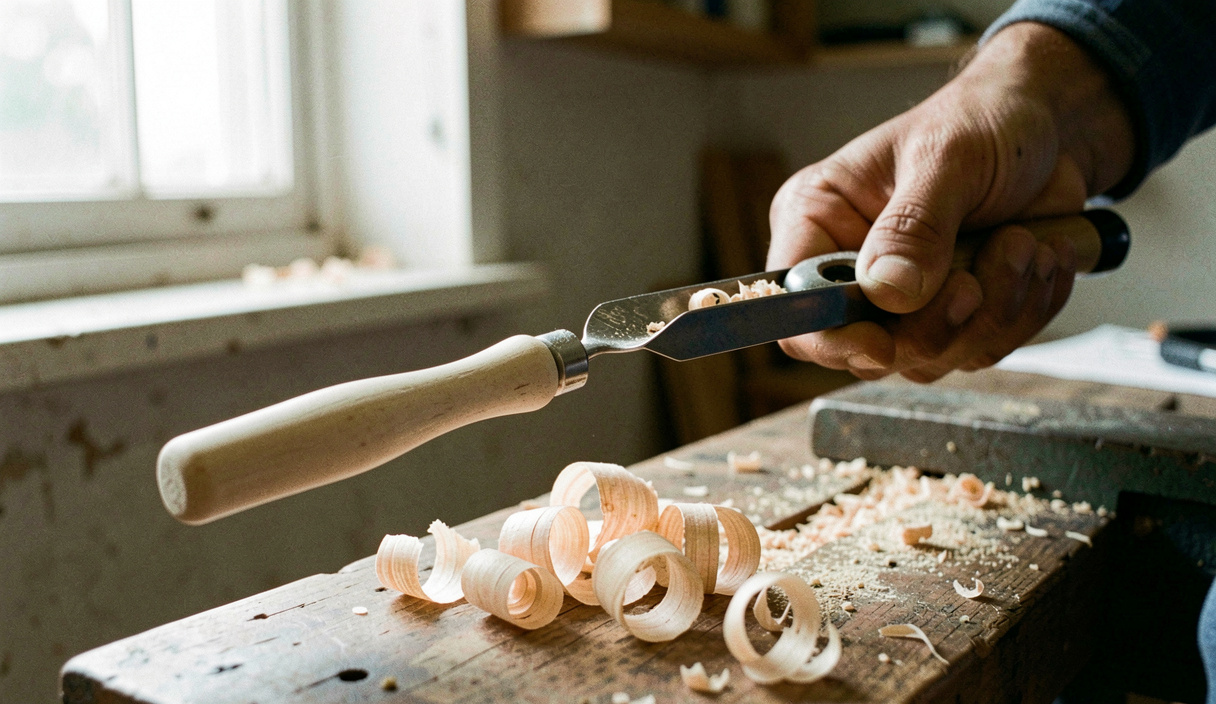
A blank is deliberately too big. The fit is made with a spokeshave, a rasp or a broad chisel, taking material off the two long faces of the tongue and checking constantly. What you are aiming for is a head that pushes on by hand for two thirds of the eye and needs driving for the last third.
Work from the top of the tongue down, so the shoulder of the handle stays full and the taper matches the eye. Check the fit by pushing the head on and looking down the eye against the light: shiny compressed patches on the timber show where it is tight. Take those down, not everything.
Never drive the head on by hitting the head. Hold the hammer upside down and strike the butt of the handle on a solid surface: the head's own inertia drives it down the taper, and it seats squarely. This is the trick that makes the job easy.
Wedging
The wedge is what actually holds the head on. It swells the tongue sideways so it cannot pull back through the tapered eye, and a badly wedged head will loosen within a month however well the taper was fitted.
- Saw the kerf in the top of the tongue to about two thirds of the depth of the eye, if the blank did not come with one.
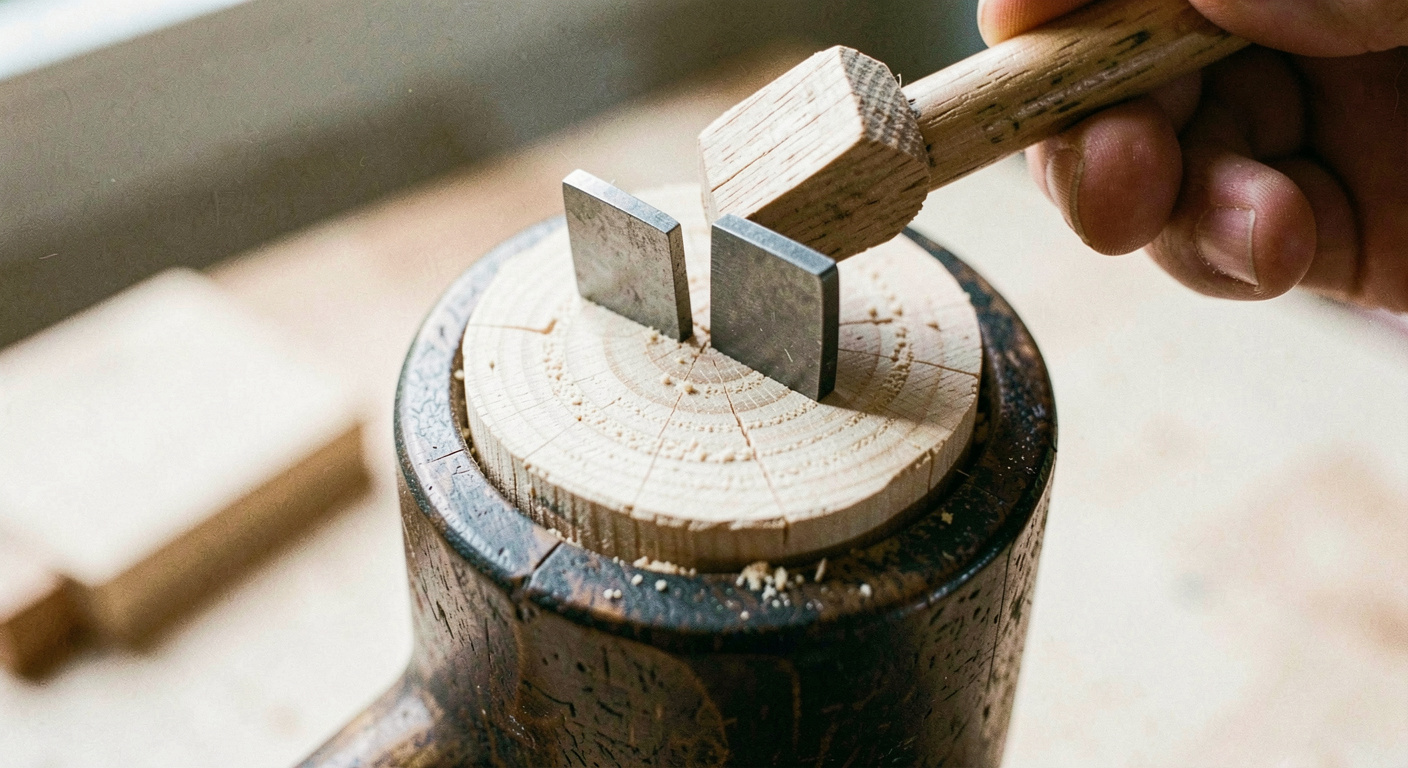
- Drive the wooden wedge in first, along the long axis of the eye, with a little PVA on both faces. Stop when it stops moving, not when it is flush.
- Saw the wooden wedge off proud, about 2 mm above the head, and pare it back with a chisel.
- Drive one or two small steel wedges in across the wooden one, at roughly 45 degrees to it. These take up the width of the eye.
- File the top flush and leave it. Do not round it over: a flat top is easier to check later.
Soaking a loose head does not work
Standing a hammer in a bucket of water swells the timber and tightens the head for a fortnight. Then it dries, shrinks past where it started, and the head is looser than before. The only permanent answers are a proper wedge or a new haft.
Shaping and finishing the handle
The rest of the blank is shaped to the hand. Take the corners off with a spokeshave, leave the section slightly oval rather than round so the hammer tells you which way the face is pointing without looking, and thin the neck just below the head, which is where a factory handle is always too fat.
Finish with abrasive paper to 180 grit and then boiled linseed oil, three coats, wiped off each time. Oil rather than varnish: it soaks in, it can be topped up in a minute, and it does not blister and peel into the palm of the hand. The timing and the wiping matter, and they are the same as for any other oil finish, which is covered in the entry on what actually cures.
- Check a wedged head after a week of use and again after a month. Steel wedges sometimes need one more tap.
- Keep the hammer out of a hot car and away from a radiator. Both dry the haft and loosen the head.
- Leave the last 100 mm of the handle slightly fuller. It stops the tool sliding out of a sweaty hand.
- Save the offcut of the blank. It makes wedges for the next handle.
Read next on the bench
The other hand tool entries are listed in date order in the section index.
Back to Hand tools