Finishes and glue
Danish oil, tung oil, and what actually cures
Most tins labelled oil are a blend, and the blend decides the drying time. Reading the label, working out how many coats a worktop needs, and why the rag has to be spread out flat to dry.
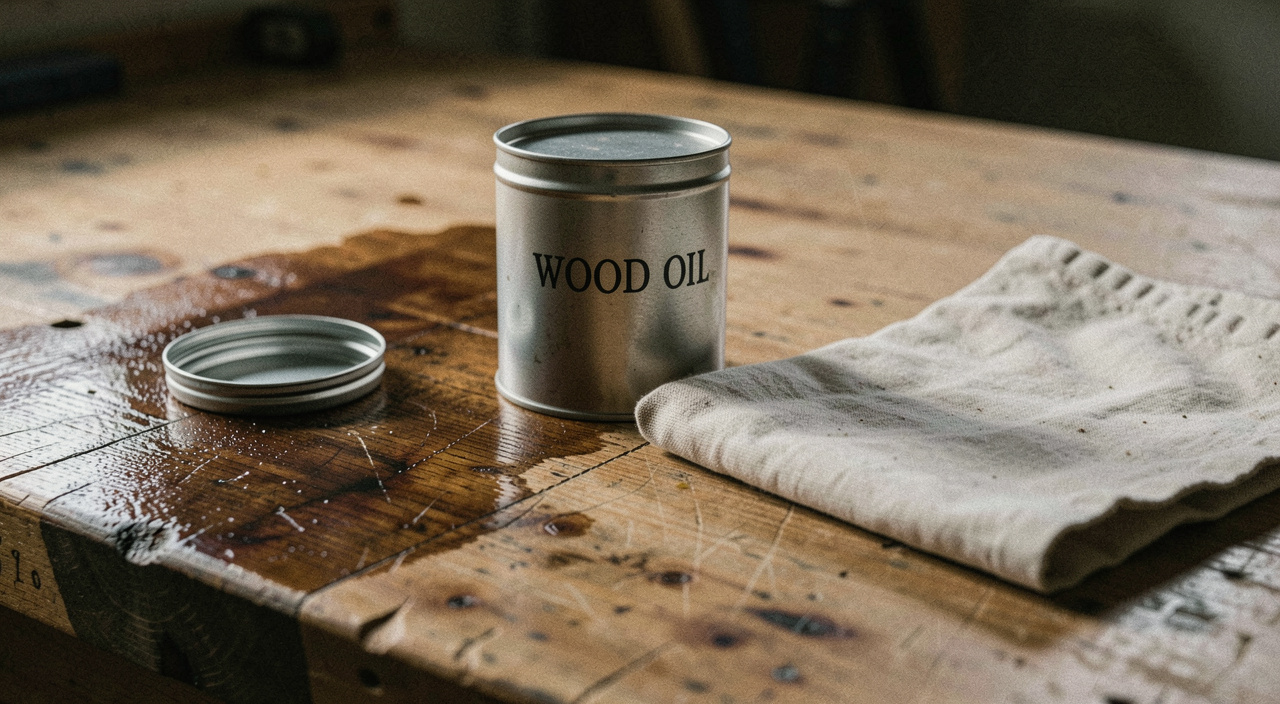
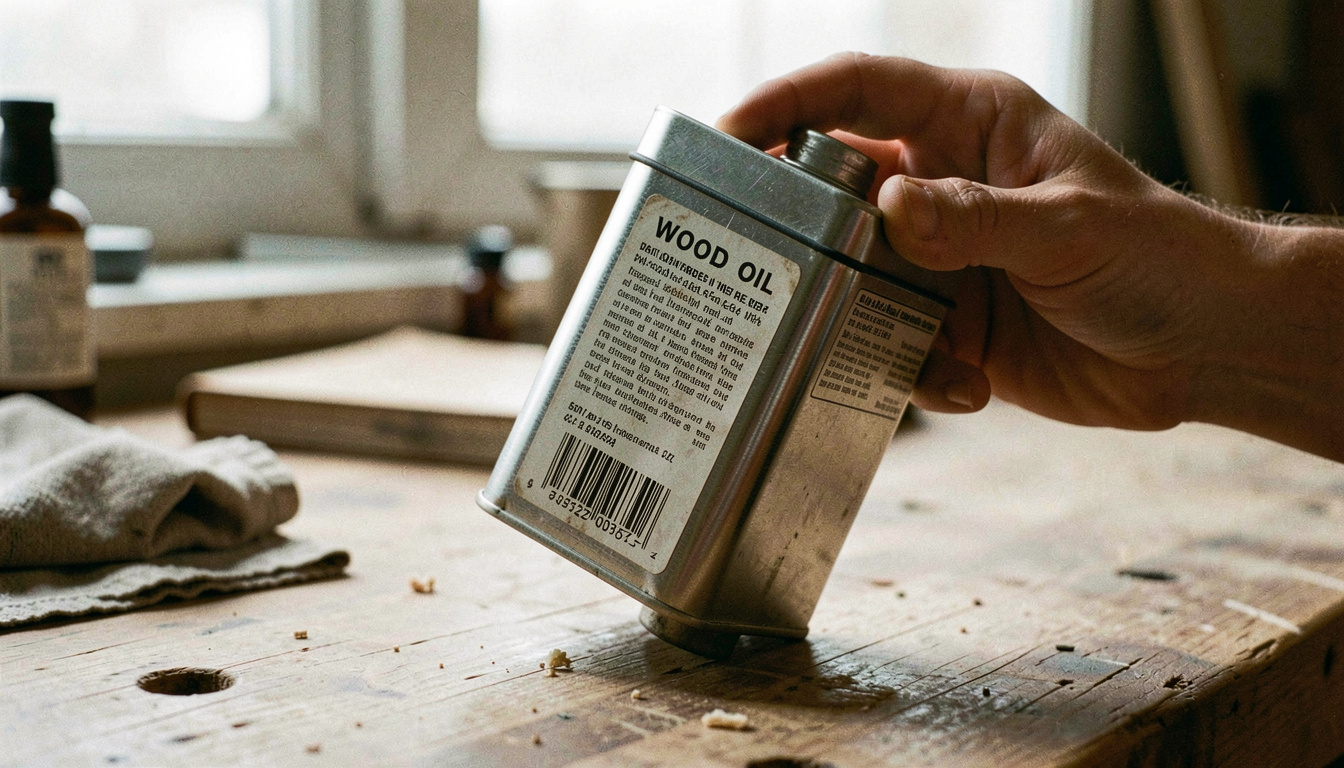
The word oil on a tin tells you almost nothing. Two tins sitting side by side on the same shelf, both labelled for wood, can contain entirely different things: one may be a vegetable oil that hardens by reacting with the air, the other mostly solvent with a little varnish resin in it. They behave differently on the wood, they take different lengths of time, and they fail in different ways. Reading the label properly takes thirty seconds and saves a fortnight of waiting for a surface that was never going to dry.
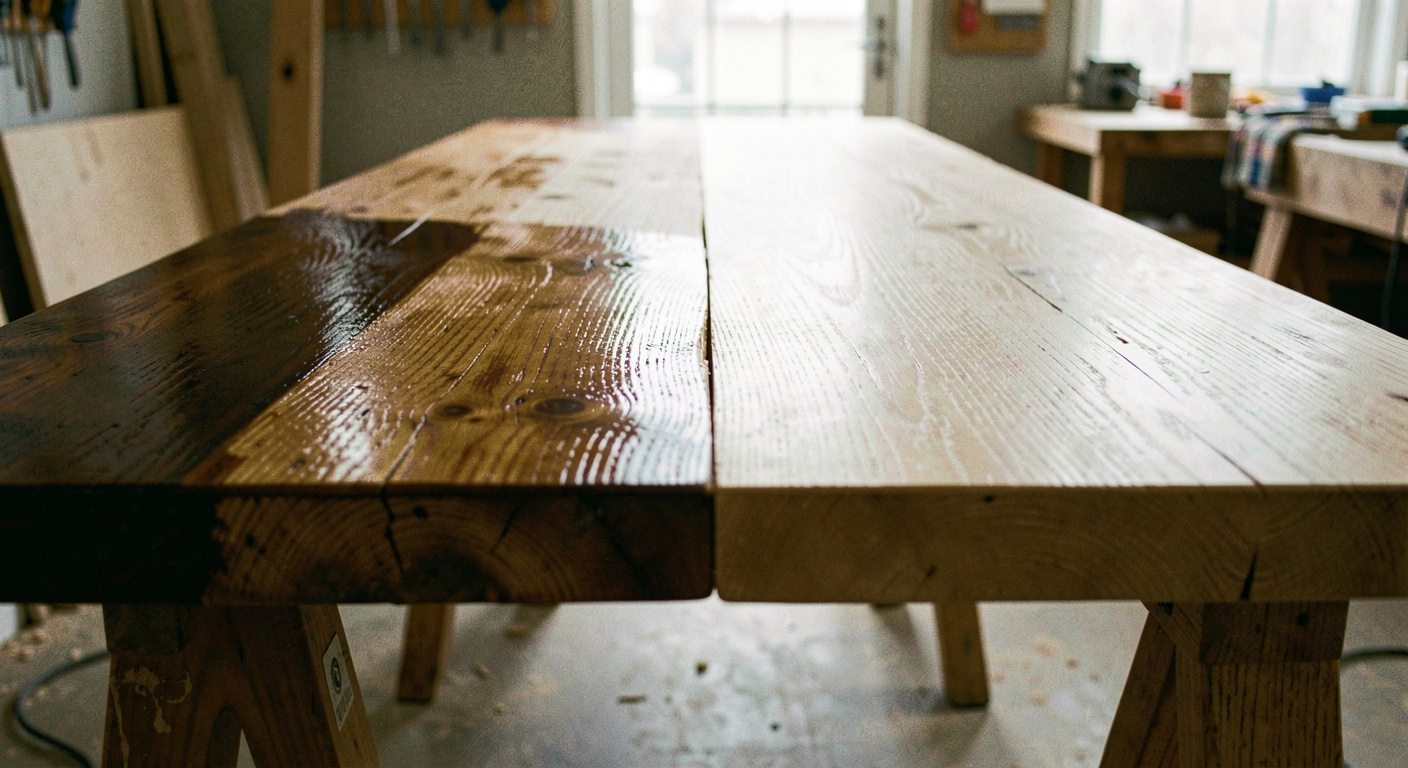
This entry covers the three things sold as oil finishes in any hardware shop: raw or boiled linseed oil, pure tung oil, and the blends sold as Danish oil or teak oil. The test piece was an oak worktop offcut, 900 mm by 300 mm, finished half at a time so the two halves could be compared under the same light.
Drying and curing are not the same thing
A finish dries when its solvent evaporates. It cures when the remaining molecules link together into a solid film. Wax only ever dries, which is why a waxed table marks with a hot cup. A drying oil cures: linseed and tung oil both absorb oxygen from the air and set into a soft, flexible solid inside the surface fibres of the wood.
That distinction explains the two things people complain about. A surface that is still tacky after four days has not cured, usually because it was applied too thickly or the room is cold. A surface that feels dry in an hour has probably had most of its solvent evaporate, and the actual cure is still weeks away underneath.
| What is in the tin | What it does on the wood |
|---|---|
| Raw linseed oil | Penetrates deeply, cures very slowly, can take weeks in a cool room |
| Boiled linseed oil | Linseed with metallic driers added; touch dry in about a day per coat |
| Pure tung oil | Cures harder and more water resistant than linseed; needs thin coats and patience |
| Danish oil | A blend: oil, varnish resin and a lot of white spirit. Builds a slight sheen |
| Teak oil | Same family as Danish oil, usually thinner still, no teak involved |
Nothing on that list is a lie on the part of the manufacturer. Danish oil is a genuinely useful product, easy to apply and forgiving. It is simply not what most people think it is, and knowing that it is roughly one third solvent explains why the first coat seems to vanish into the timber.
How many coats a worktop actually needs
The rule that holds up in practice is that oil goes on until the wood stops taking it, then one more, then stop. On plain oak that was about four coats on the test piece; on a dense, oily timber it can be two. The wood tells you: the first coat soaks in within a minute and leaves the surface matt, the third sits on top for ten minutes before it is wiped off.
- Sand to 180 grit and no finer. Polishing the surface to 400 closes the pores and the oil has nowhere to go.
- Flood the first coat on with a brush or a folded cloth and leave it fifteen minutes.
- Wipe every trace off the surface with a dry cloth. Every trace: whatever is left on top is what will be sticky tomorrow.
- Wait the interval the tin gives, and add half again in a cold room. Six hours for a Danish oil blend, a full day for boiled linseed.
- Rub the second and later coats in with a grey abrasive pad rather than a brush. The slurry it raises fills the grain and the surface comes up smoother each time.
- Stop when a coat is still glossy after ten minutes. The wood is full.
A worktop around a sink is the one case for going further and adding a hardwax or a varnish over the oil once it has cured. Oil alone is repairable, which is its great virtue: a ring or a scratch is fixed with a pad and a rag rather than by stripping the whole top.
Spread the rag out flat
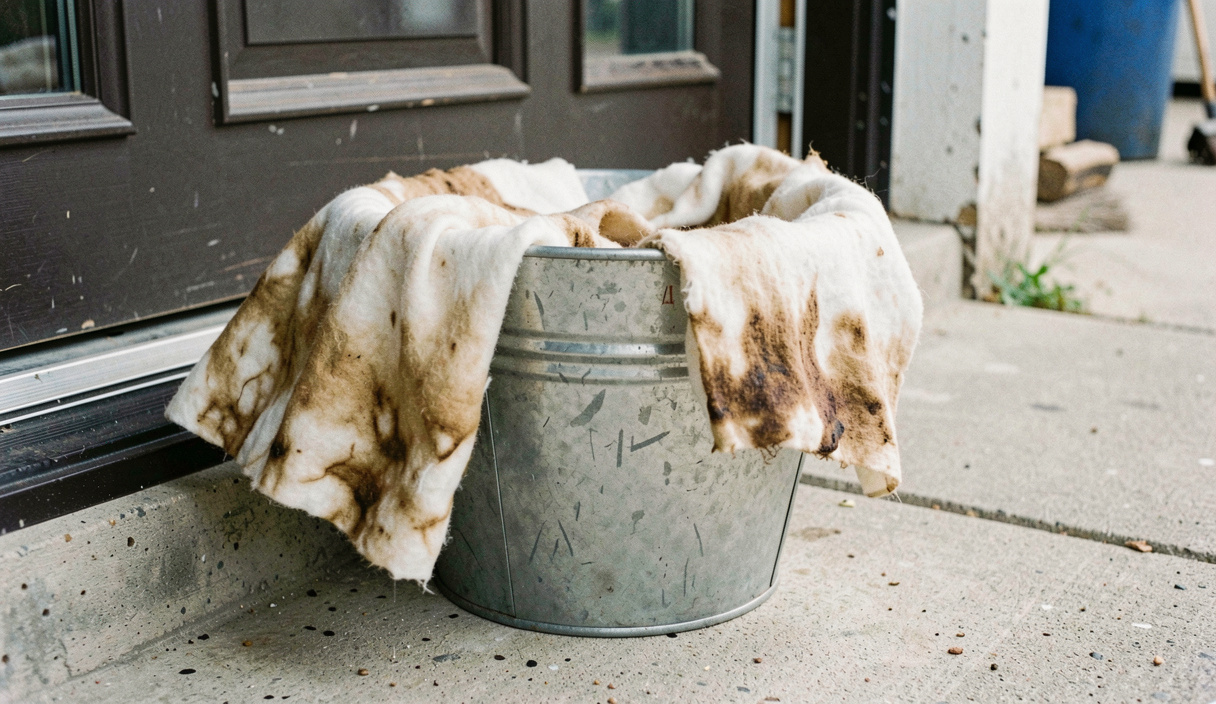
An oily rag left screwed up in a ball generates heat as the oil cures and can reach its ignition point on its own. This is not a rare event, it is the ordinary chemistry of linseed oil. Open every rag out flat over the edge of a bucket or a step outside until it is stiff and dry, then it is inert and can go in the bin.
Cold rooms, damp rooms and the coat that never dried
Curing is a chemical reaction and it slows down when the temperature drops. Below about 12 degrees an oil finish very nearly stops. A garage in November will hold a coat of boiled linseed tacky for a fortnight, and the usual response, adding another coat to fix it, makes it worse: the second coat seals the first away from the air it needs.
If a surface is still tacky after three or four days, the repair is to take the excess off rather than to add more. Wet a cloth with white spirit, wipe the surface until the cloth comes away clean, and let it stand somewhere warmer. The oil that has already gone into the fibres stays; only the film on top is removed, and that film was the problem.
- Warm the tin as well as the room. Cold oil is thick and goes on far too heavily.
- Wipe off, always. There is no oil finish that is meant to be left standing on the surface.
- Test on the underside of the piece first. Oak darkens noticeably, ash barely at all.
- Give a worktop a week before it meets a wet dish, whatever the tin says about handling time.
What to buy first
For a household bench, one tin of Danish oil and one of boiled linseed cover nearly everything. The blend goes on furniture, tool handles and anything that wants a slight sheen without a plastic feel; the linseed is for raw timber that will live outside a controlled climate, and for reviving a handle that has gone grey. Tung oil is worth buying when a surface will get wet regularly and you are willing to give it the fortnight it wants between the last coat and real use.
Whichever it is, the finish is the last five per cent of a job and it shows everything underneath it. A dent left in the surface, a patch of glue that was not wiped off a reglued chair frame, a scratch from paper that was too coarse: oil makes all of them more visible, not less. The bench work has to be right before the tin is opened.
Read next on the bench
The other finishing and adhesive entries are listed in date order in the section index.
Back to Finishes and glue