Wood repairs
Regluing a chair that racks side to side
A chair loosens at the joints long before anything breaks. Knocking it apart, cleaning the old glue out of the mortices, and pulling it square again with a tourniquet of cord.
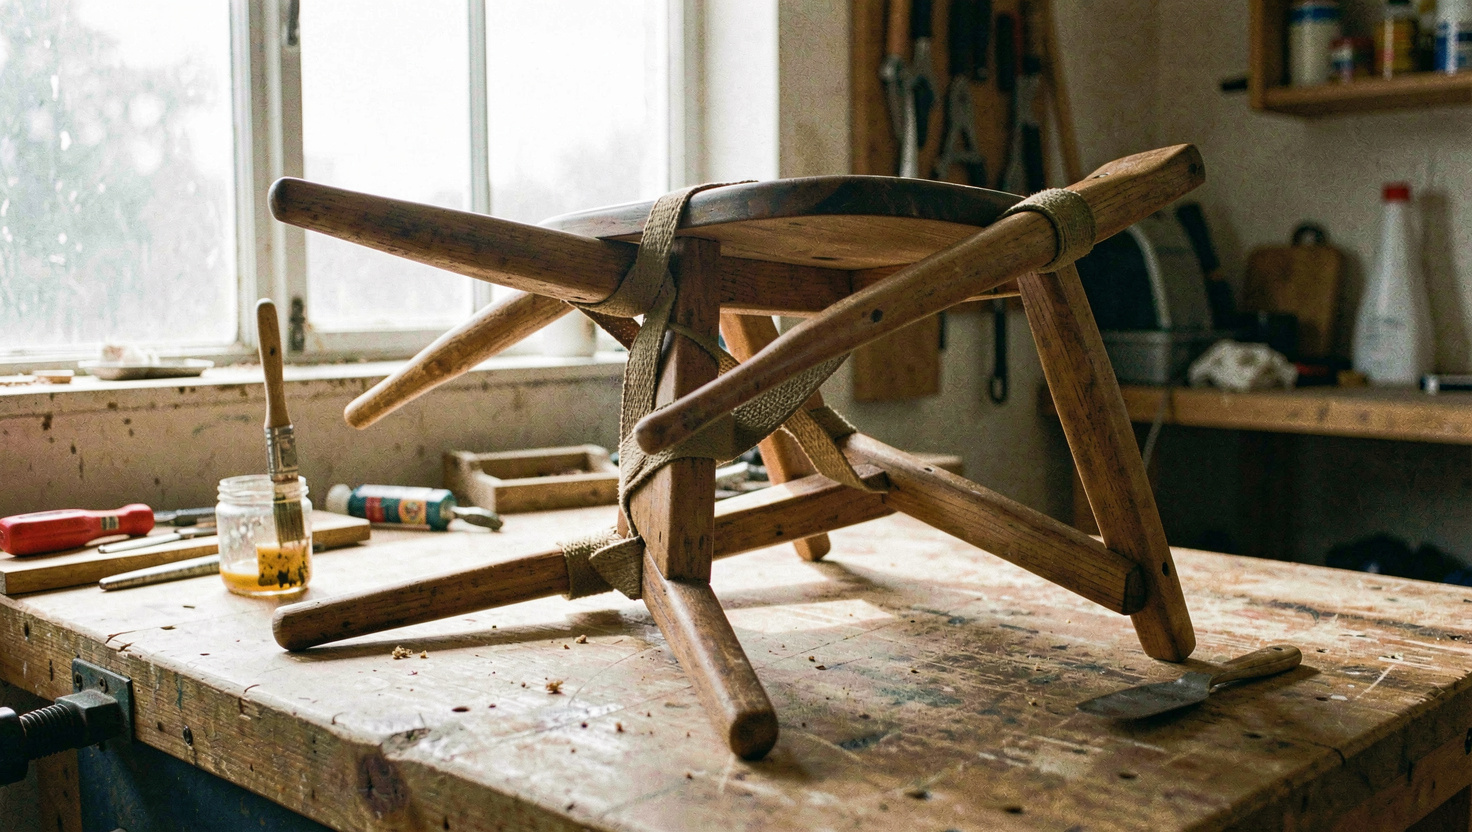
A dining chair almost never breaks. It loosens, and it loosens in one particular way: the seat frame starts to move sideways under you, a few millimetres each time somebody leans back, and the noise arrives about a year before the failure does. Left alone, a joint that racks will eventually split the tenon or lever the leg apart at the shoulder, and at that point the repair stops being an evening's work.
The chair in this entry is an ordinary beech dining chair, mortice and tenon underframe, four side rails and a back rest. Two of the eight joints were loose. The whole job took about two hours of actual work spread over three days, most of which was waiting.
Why the joint lets go before the wood does
A tenon is end grain pushed into a hole cut across the grain of the leg, and the two pieces move by different amounts as the humidity in a room changes. Over twenty winters the tenon shrinks across its width more than the mortice does, and the glue line, often no thicker than a sheet of paper, is asked to bridge a gap it was never sized for.
Once there is any play, sitting on the chair grinds what is left of the glue into powder. By the time you notice the movement, the old glue in that joint is dust, and nothing you squirt into the gap will bond to it.
Test the chair before you take anything apart. Stand it on a flat floor, put a knee on the seat, and push the top of the back sideways. If the frame moves visibly, note which joints open. Chalk an arrow on each one. In most chairs only two or three joints are actually loose and the rest are sound, and a sound joint should be left alone.
What is on the bench
| Item | What it does here |
|---|---|
| Mallet and a softwood block | Drives rails apart without bruising the beech |
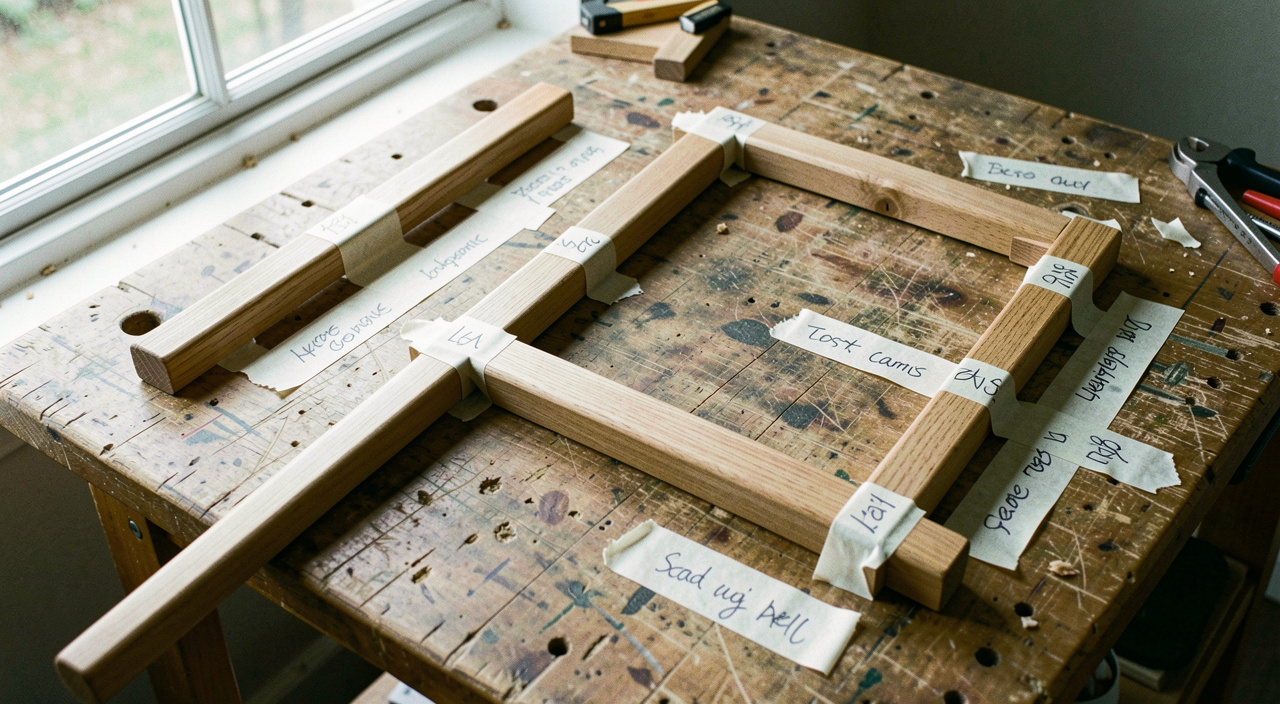
| Masking tape and a pencil | Numbers every joint so it goes back the way it came out |
| Old chisel, ground square across | Scrapes hardened glue off the tenon cheeks |
| Hot water and a cotton rag | Softens animal glue in the mortice in about fifteen minutes |
| 4 m of 6 mm cord and a short stick | The tourniquet that pulls the frame square |
| Liquid hide glue or PVA | The new glue line, chosen for how the joint will be repaired next time |
| Two offcuts and a pencil | Improvised diagonal gauge for checking square |
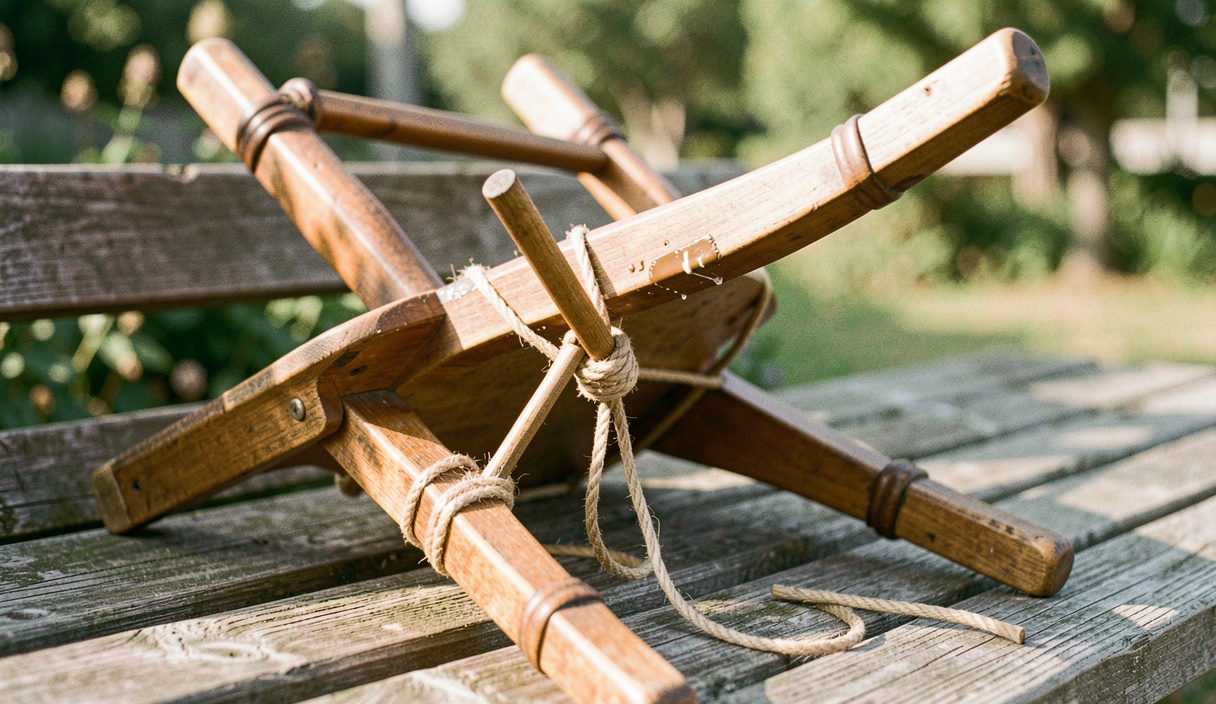
There is no band clamp on that list. A cord tourniquet costs nothing, pulls evenly on all four legs, and cannot be tightened to the point where it bows the rails, which a screw clamp very easily can.
Do not glue a joint that is still assembled
The repair everybody tries first is to work glue into the gap with a syringe and clamp the chair up. It holds for a few months, then fails, because the glue never touches clean wood: it sits on powdered old glue and on the burnished surfaces the joint has worn for itself. A joint is only as strong as the weakest surface in it.
So the loose joints come apart. Tap the rail, not the leg, with a mallet and a softwood block, working opposite joints alternately so the frame stays roughly parallel. Five millimetres at a time. If a joint refuses to move after honest effort, that joint is still sound: stop, and repair around it.
Cleaning the mortices and tenons
Everything comes back to bare wood, scraped rather than sanded. Abrasive paper rounds the shoulder of a tenon and the arris of a mortice, and a rounded shoulder leaves a visible gap when the joint closes. An old chisel ground square across the end is the right scraper.
Old animal glue gives up easily. Wrap the tenon in a rag soaked in hot water, leave it a quarter of an hour, and the glue turns to a soft brown paste you can push off with the scraper. For the mortice, roll the rag into a wick, push it in, and scrape the walls with a sharpened stick cut to the width of the hole. PVA is mechanical removal only, since no solvent helps, which is an argument for the glue choice further down.
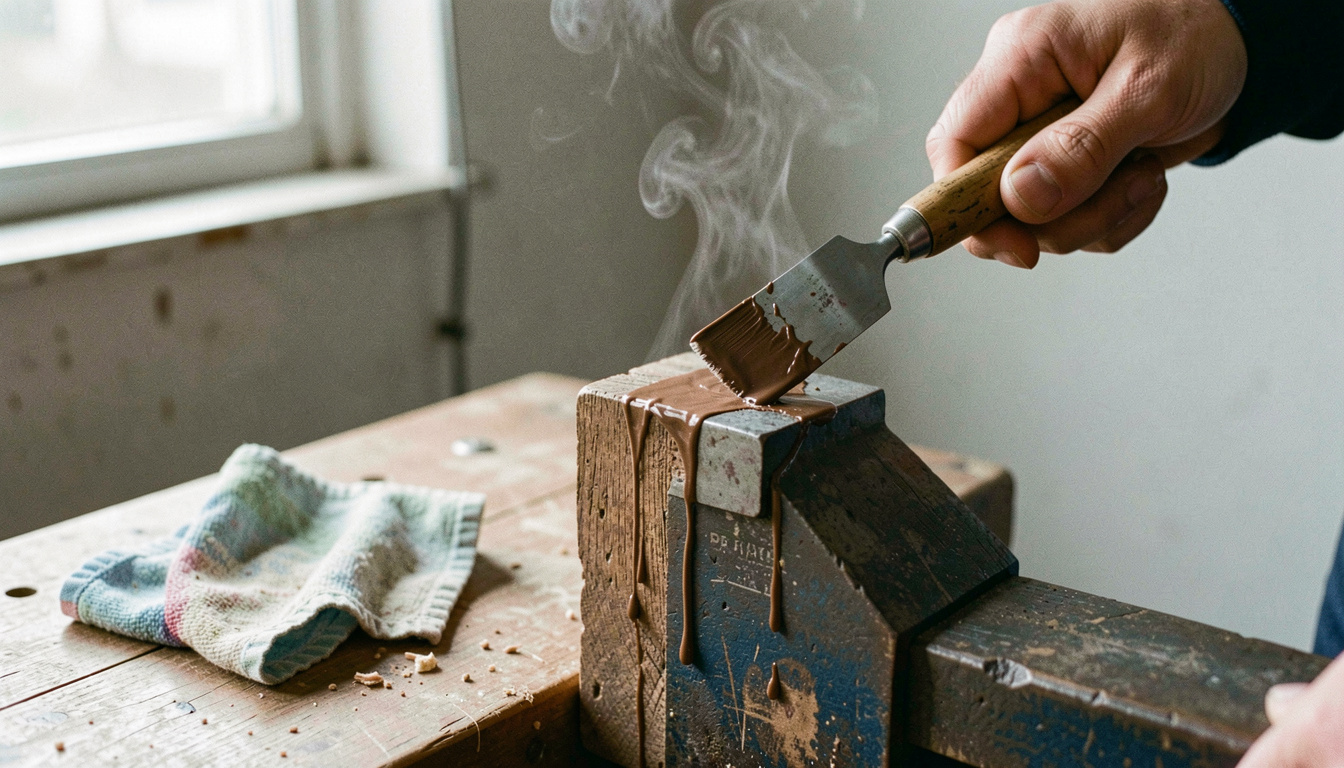
Then test the fit dry, before any glue is opened. A tenon should push home with firm hand pressure and hold the joint when you lift the rail. If it drops in, gluing will not fix that: glue a shaving of the same timber, about 0.6 mm, onto one cheek, let it dry, and pare it back to a push fit. A blunt chisel crushes the shaving and you pare through it, so if yours skids rather than slices, ten minutes on a pair of water stones is the shorter route.
- Scrape, never sand, any surface that will carry glue.
- Leave the shoulders untouched: they carry the racking load, not the cheeks.
- Pack a slack joint with wood, never with filler and never with matchsticks.
- Dry fit the whole frame and count the seconds it takes. That is your open time budget.
Which glue this joint gets
A chair joint is the clearest case on the bench for liquid hide glue: ten minutes of open time, which is what a four legged assembly needs, and it softens with heat and water when the chair loosens again in fifteen years. PVA is entirely adequate here but commits whoever repairs the chair next to an hour of scraping. Polyurethane is the wrong answer, because the foam that fills the gap has almost no strength. The full comparison sits in the entry on which joint gets which glue.
Pulling it square
- Dry run the whole assembly with the cord in place and time it. Over six or seven minutes, split the job: side frames one evening, front and back rails the next.
- Brush glue on both surfaces, the tenon and the inside of the mortice. A tenon coated on one side only gives you half a joint.
- Push the joints home by hand as far as they will go, then close the last few millimetres with the mallet and the block.
- Wind four turns of cord round the legs just above the floor, slip the stick through, and twist until the joint lines close. Hook the stick against a rail so it cannot spin back.
- Check the diagonals with a marked offcut held across each pair of legs. Any difference is racking, corrected by pushing the frame rather than by tightening the cord.
- Stand the chair on a flat floor and press each leg. If one rocks, twist the frame gently until all four touch, and leave it standing that way. A chair sets in the shape you leave it in.
The squeeze out that shows up months later
Glue that dries on the outside of a joint seals the pores of the wood, and when the chair is waxed or oiled later that patch stays noticeably pale. Wipe the beads off with a barely damp cloth while they are still wet, then go round again twenty minutes later when the next lot has been pushed out by the clamping pressure.
Leaving it alone
Hide glue wants a room above 15 degrees and twenty four hours in the cord. PVA is nominally set in an hour but has not reached full strength for a day. Give it the full day either way, then take the cord off and let it stand another two before anybody sits on it.
Then repeat the test you started with: knee on the seat, push the back sideways. It should feel like one object rather than eight pieces of beech agreeing to stay together. If a different joint now shows movement, that is normal: stiffening two joints transfers the load to the next weakest, and the second round is quicker.
Read next on the bench
The rest of the furniture entries, in date order, sit in the section index.
Back to Wood repairs