Wood repairs
Replacing a worn drawer runner
A drawer that drops at the front and catches on the way out has worn rather than broken. Finding the hollow, putting fresh timber where it was, and letting the carcase move.
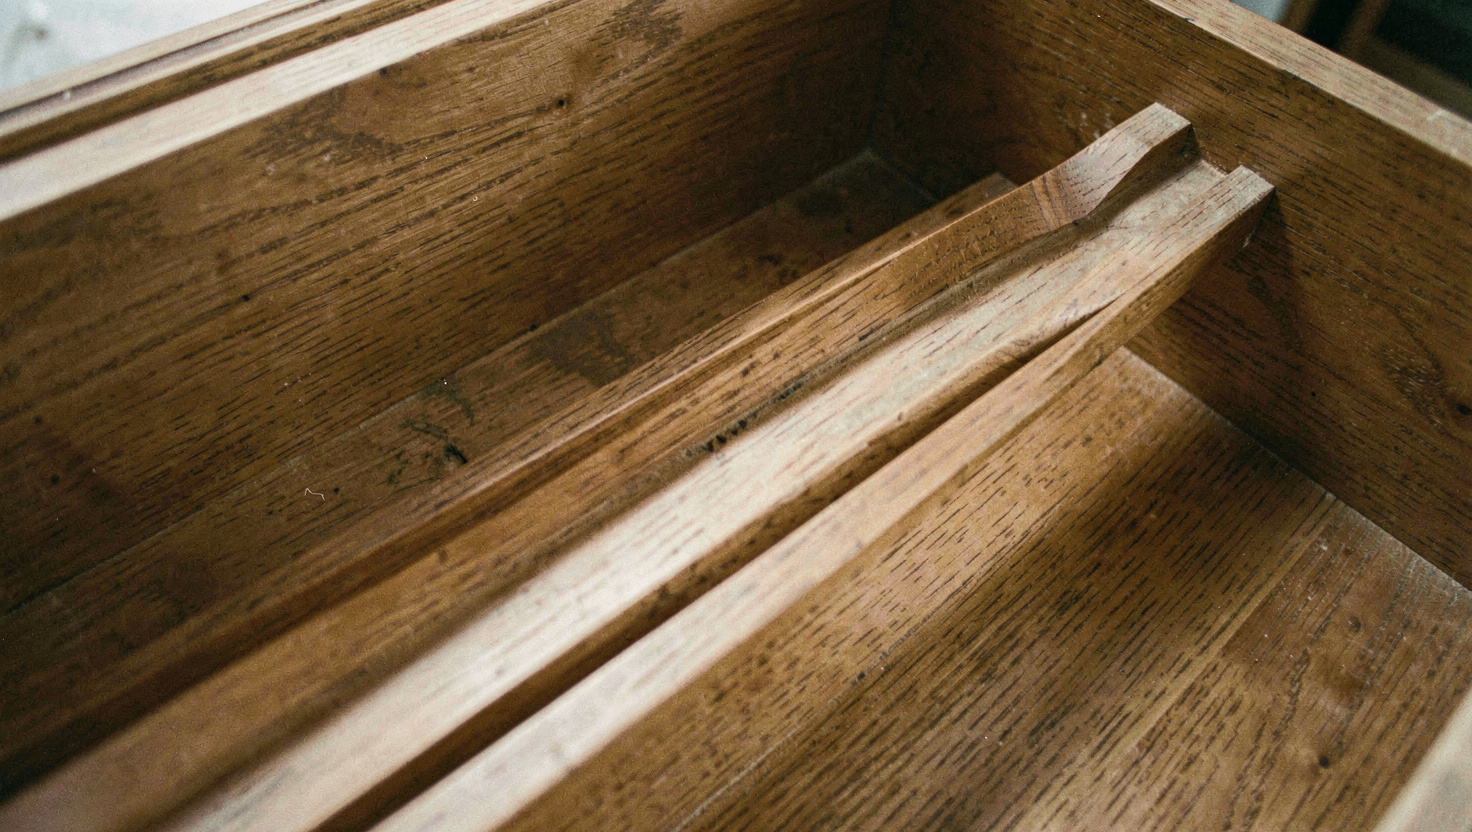
A drawer that has started to drop at the front, catch on the way out and need a lift to close is almost never broken. It has worn. Sixty or eighty years of sliding has cut a hollow into the timber the drawer runs on, and the drawer is now travelling down into that hollow and jamming. The repair puts fresh wood where the wear happened, and it is one of the most satisfying two hours on the bench because the drawer goes from unusable to silent.
The chest here is a 1930s oak chest of drawers with side hung drawers running directly on timber rails let into the carcase. Two of the four rails had worn through 4 mm of oak.
Work out which part has worn
There are two wearing surfaces and they wear at different rates. The runner, which is the rail fixed in the carcase, and the underside of the drawer side, which slides on it. In a softwood carcase the runner goes first. In a hardwood carcase with softwood drawer sides, the drawer side goes first. Very often both have gone and only one is obvious.
- Pull the drawer right out and turn it over. Look at the bottom edge of each side: a hollow worn into it will be plainly visible against a straightedge.
- Reach into the carcase and run a finger along the top of each runner. A groove or a dip halfway along is the classic pattern.
- Put a straightedge on the runner. Measure the deepest point of the hollow with a feeler gauge or a slip of card.
- Add both measurements together. That total is how far the drawer front has dropped, and it usually matches the gap you can see above the drawer front.
Repairing the drawer side
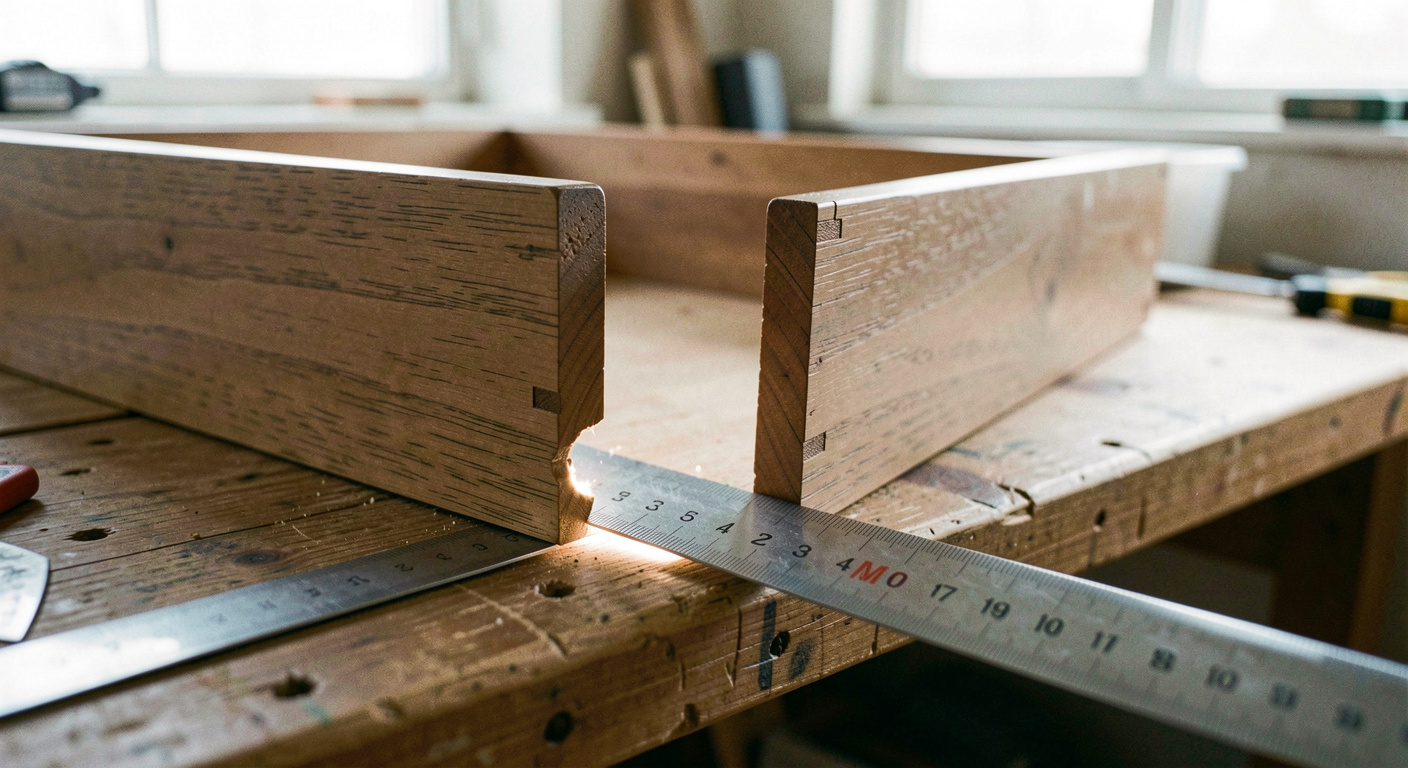
The drawer side is repaired by planing the worn edge back to a straight line and gluing a new strip on. Take off just enough to reach clean, flat timber, usually 4 or 5 mm, and keep the cut square to the face of the side. A shooting board helps; a plane and a straightedge checked frequently will do.
The new strip goes on in the same species where it can be seen and in a harder one where it cannot: oak on oak, or beech under a pine drawer side, since beech wears far better than pine. Make it 1 mm thicker than the amount removed, glue and clamp it, then plane it down to the original line once the glue has cured.
Long grain to long grain means glue alone is enough, and PVA is entirely adequate here. Where a repair may need to come apart in future, or where squeeze out will sit next to a finished surface, hide glue has the advantages set out in the entry on which joint gets which glue.
Replacing the runner
| Step | What it involves |
|---|---|
| Removing the old runner | Usually glued and pinned. Split it out with a chisel rather than levering, so the housing is not damaged |
| Cleaning the housing | Pare the glue residue back to flat. A chisel wider than the housing keeps the floor true |
| Making the new runner | Beech or oak, planed to fit the housing exactly in width, a shade proud in thickness |
| Fitting | Glue at the front 100 mm only, then two 6 gauge screws in slotted holes further back |
| Levelling | Plane the new runner down in place until the drawer sits level with its neighbours |
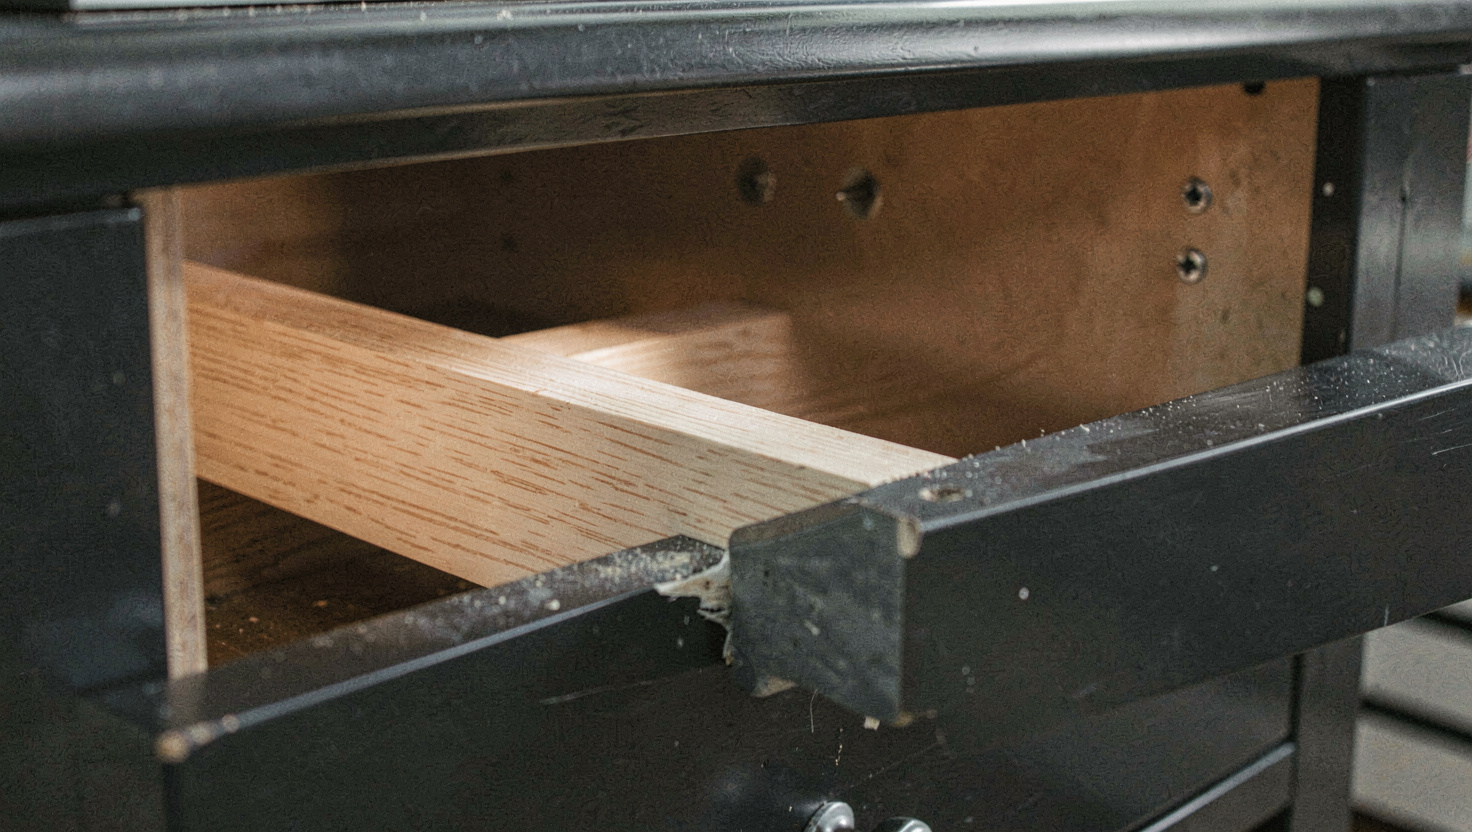
The detail that matters is gluing only the front of the runner. The carcase side is a wide panel that moves across its width with the seasons, and a runner glued along its whole length restrains it, which is exactly what splits carcase sides. Glue at the front, where the front edge of the piece is the reference, and let the back float on screws in slotted holes.
Do not plane the drawer to fit before the runner is in
A worn drawer sits low, so it looks too tight at the top and too loose at the sides. Planing it in that state removes wood that will be needed once the runner is level again, and the result is a drawer that rattles. Fit the runner first, then see what the drawer actually needs.
Fitting the drawer back
With both surfaces fresh, the drawer should slide in and stop with its front proud of the carcase. Push it slowly and watch where it tightens. Mark the tight spots with a pencil, take the drawer out, and remove those spots with a plane or a scraper, a shaving at a time.
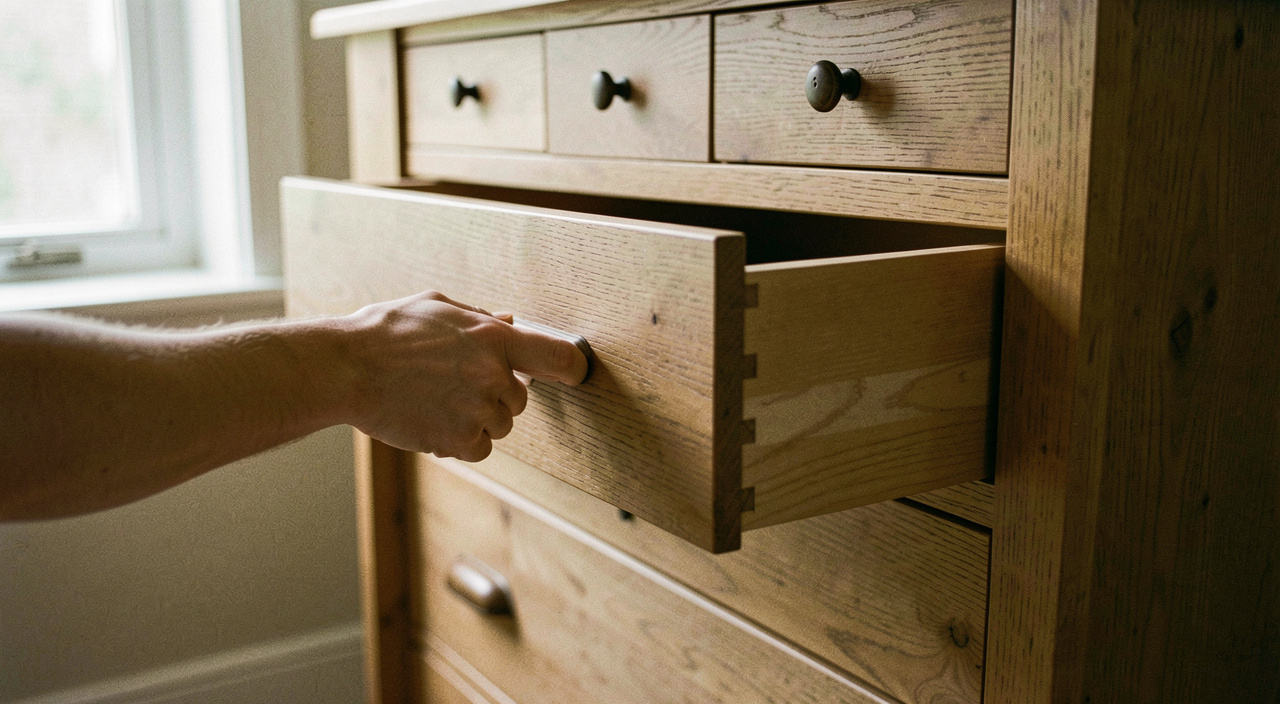
Aim for a drawer that can be pushed shut with one finger and does not fall out when the chest is tilted. Test it in both directions and at both ends of its travel, because a drawer that runs freely for the first 200 mm can bind in the last 50 where the carcase is out of square.
Finishing, and the candle
- Rub a candle along the runner and the drawer side once everything fits. Wax, not oil: oil attracts dust and turns into a paste.
- Leave the new timber unfinished on the running surfaces. A film finish there is worn through in a month and looks worse than bare wood.
- Put a stop block behind the drawer if it never had one. It sets the closed position and stops the drawer front bruising the carcase.
- Check the other three drawers while everything is out. They are the same age and they wear at the same rate.
Two hours, an offcut of beech and a candle end. The same fault appears in kitchen units, in tool chests and in the bench itself, and the diagnosis is always the same: find the hollow, put fresh wood where the wear happened, and let the carcase move. Furniture repaired this way tends to outlast the repair, which is why the wood repairs section is mostly about wear rather than breakage.
Read next on the bench
The other furniture entries are listed in date order in the section index.
Back to Wood repairs