Fasteners and hardware
Choosing screw gauge and length for a given board
Two numbers describe a screw and both get guessed. Sizing the gauge to the board, the length to the joint, and the two holes that stop a split.
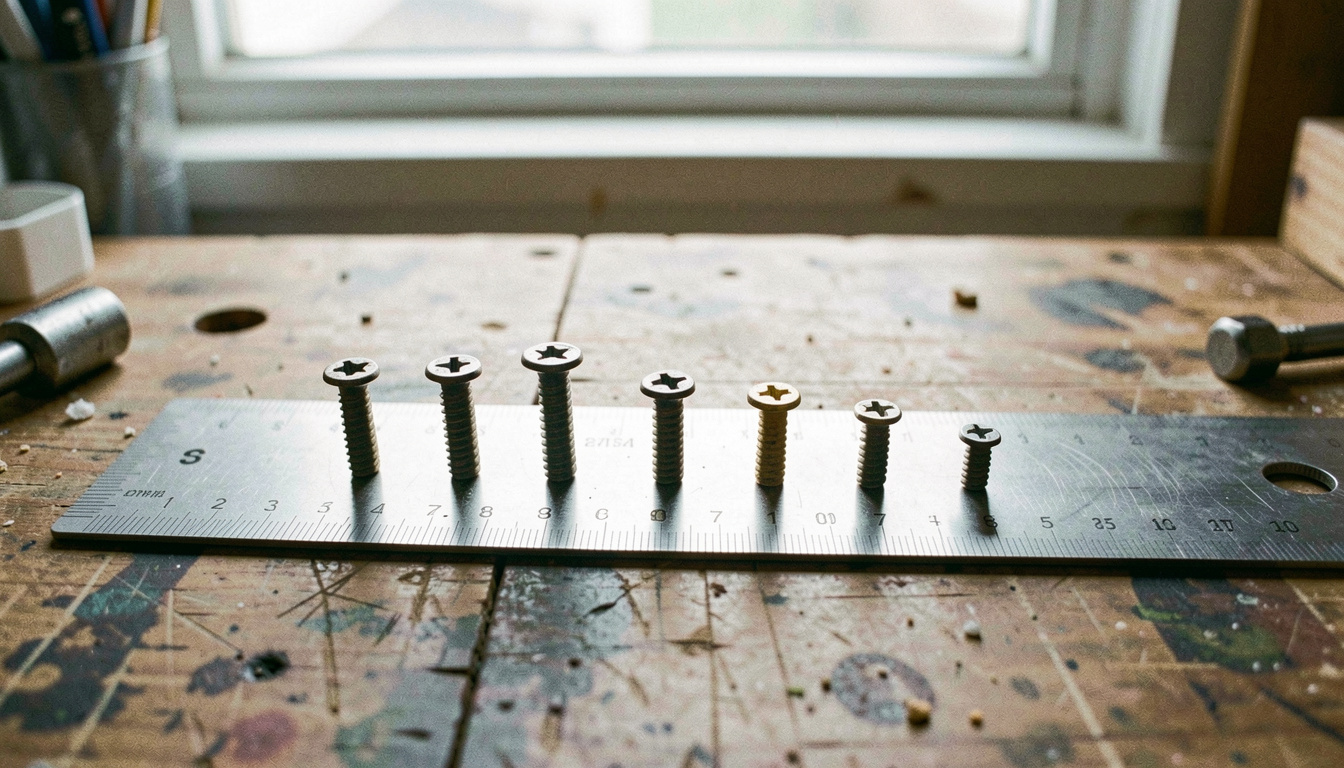
Two numbers describe a wood screw and both of them are routinely guessed. Gauge is the diameter of the shank, still sold in the old numbers 4, 6, 8 and 10 alongside the metric 3, 3.5, 4, 4.5 and 5 millimetre equivalents. Length is measured from the tip to the point that will finish flush with the surface, which means a countersunk screw is measured overall and a round head is measured under the head. Get either wrong and the joint is weaker, or the board splits, or the head sits proud.
The two rules that cover most of it
For a screw joining two pieces of timber, aim for two thirds of the screw in the piece being fixed into and one third passing through the piece being held. Twenty millimetres into the second piece is a sensible minimum in softwood, and 15 mm in hardwood, which grips more per millimetre.
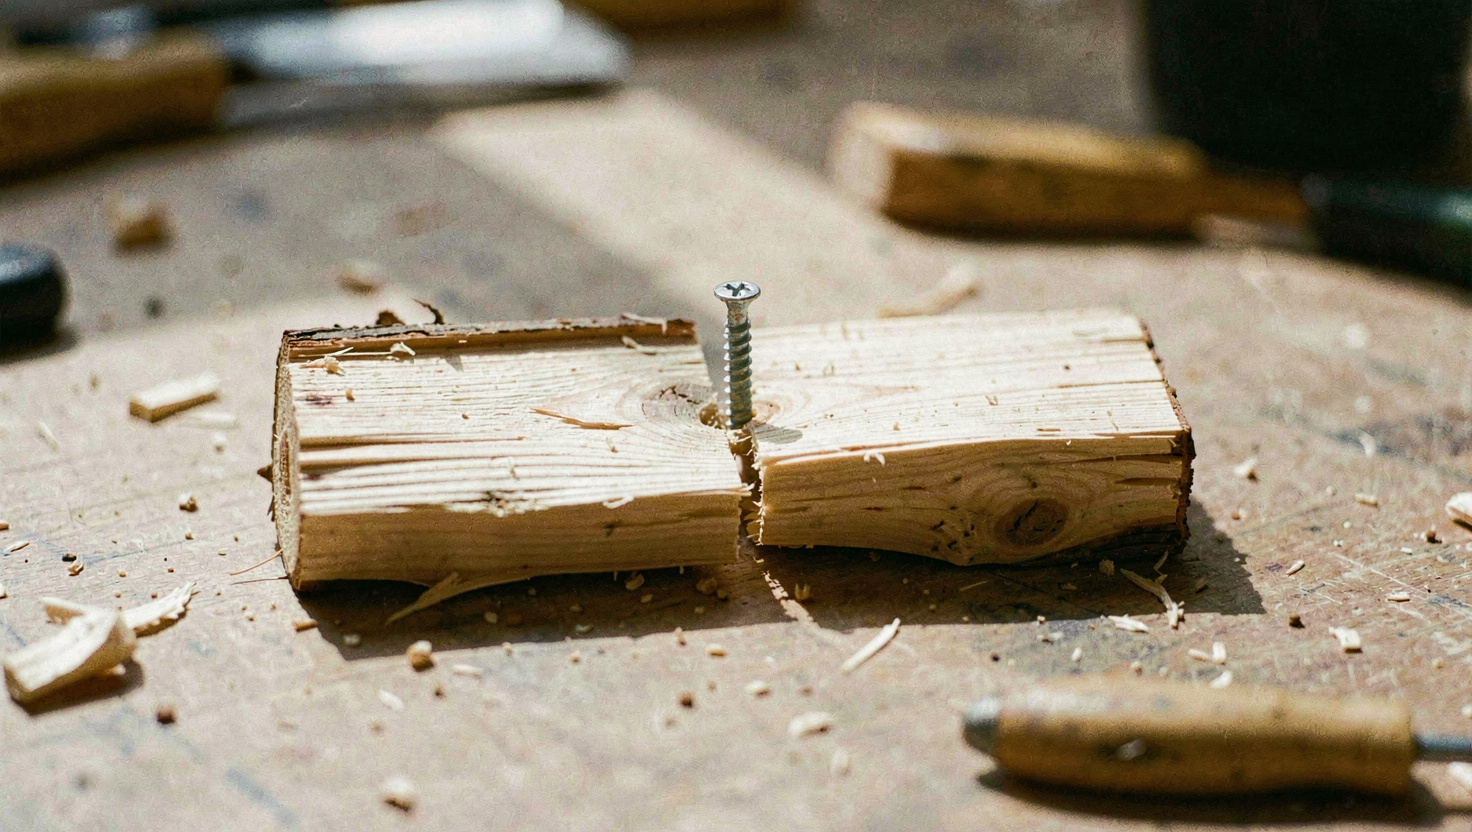
For gauge, the shank should be about a tenth of the thickness of the timber it is entering, and never more than a quarter of the width of the board near an end. That second part is what stops splits: a fat screw close to the end of a narrow board acts as a wedge.
| Job | Gauge | Length |
|---|---|---|
| Butt hinge on an internal door | 8 (4 mm) | 32 mm, or 45 mm to reach the stud |
| 18 mm shelf into a 25 mm upright | 8 (4 mm) | 45 mm |
| Drawer runner into a carcase side | 6 (3.5 mm) | 25 mm |
| Small brass catch or escutcheon | 4 (3 mm) | 12 to 16 mm |
| Batten to a masonry wall through a plug | 10 (5 mm) | Plug length plus batten plus 5 mm |
| Fixing into end grain | Up one gauge | Up 25 per cent, and add glue |
End grain is on that list because it holds badly. A screw in end grain has its threads running between the fibres rather than across them, and it will carry perhaps half the load of the same screw in face grain. Where a fixing into end grain is unavoidable, a dowel cross pinned behind it gives the threads something to bite across.
The pilot hole is two holes
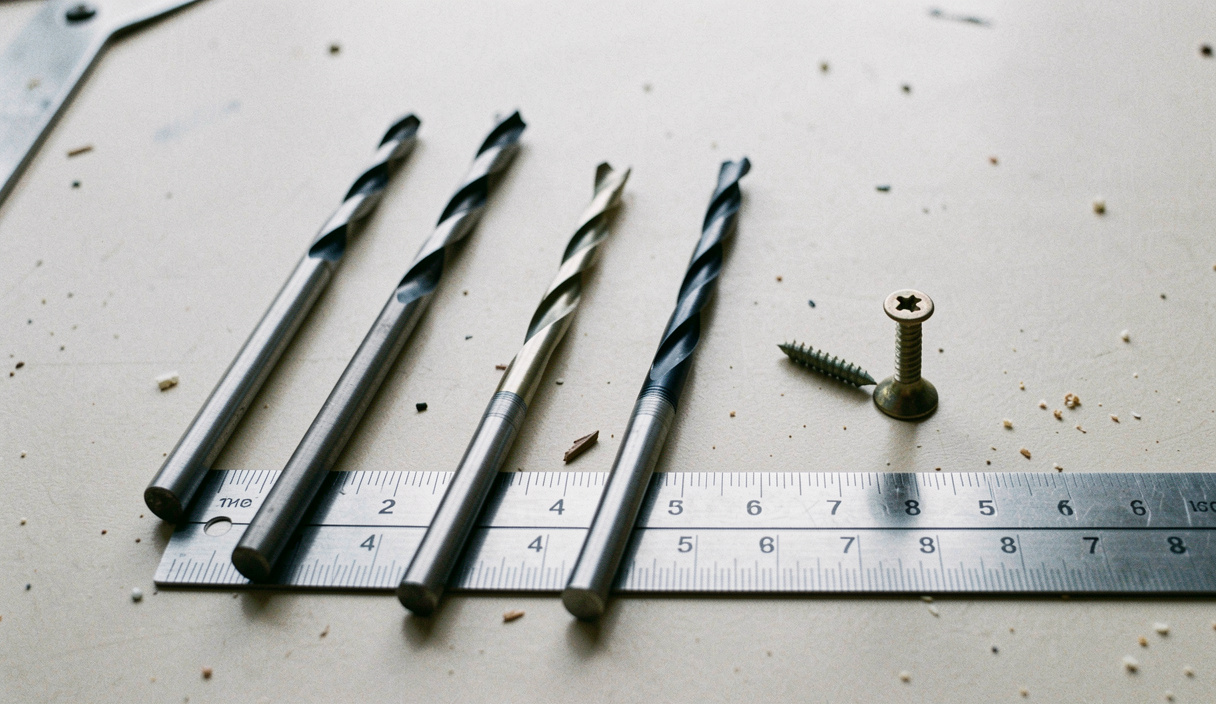
A traditional wood screw needs a clearance hole through the top piece, sized to the shank so the screw passes through without gripping, and a pilot hole in the lower piece, sized to the core of the thread so the threads can bite into solid timber around it. If the top piece grips the shank, the screw cannot pull the two boards together and the joint stays open however hard you drive it.
- Pilot hole: roughly 70 per cent of the screw diameter in softwood, 85 per cent in hardwood. For a 4 mm screw, 2.5 mm and 3.5 mm respectively.
- Clearance hole: the same size as the shank. 4 mm for a 4 mm screw. It goes through the whole thickness of the piece being held.
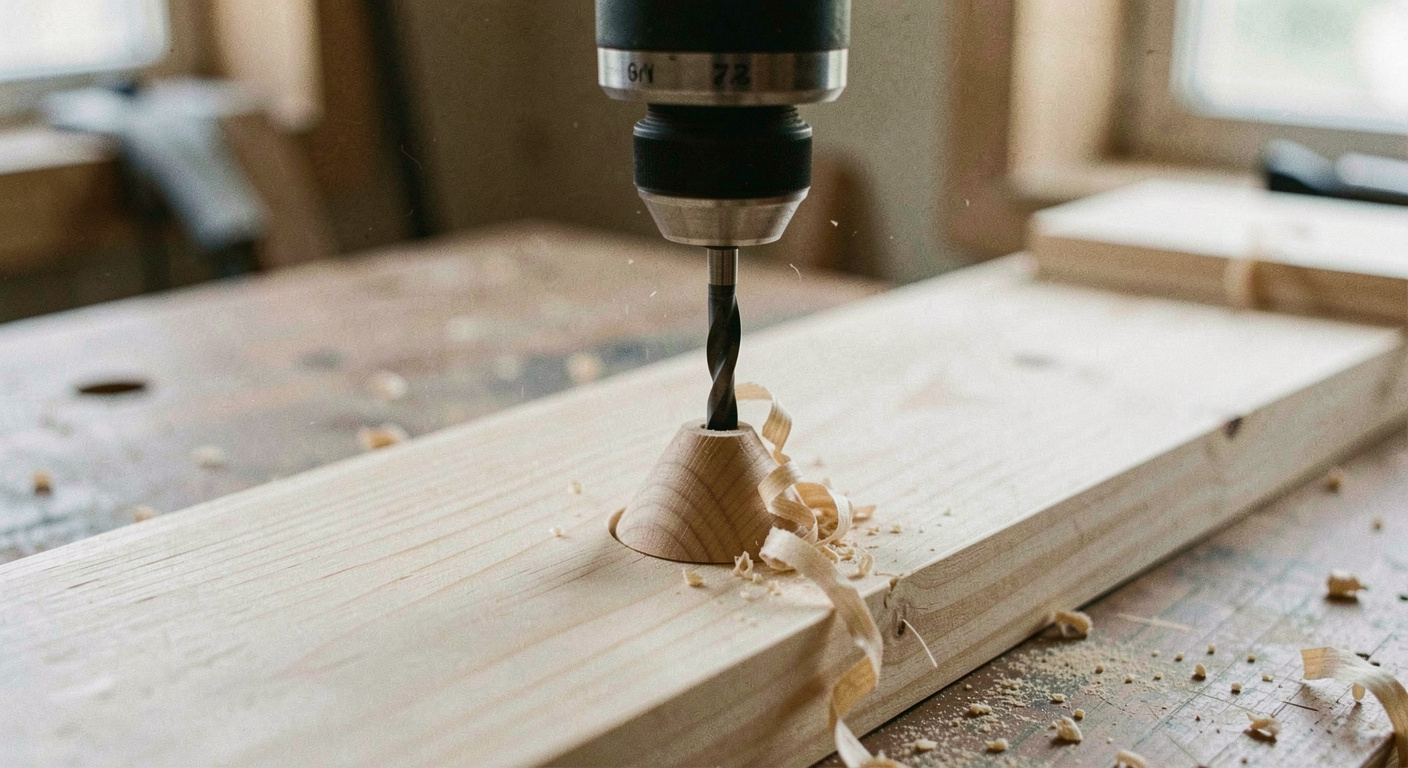
- Countersink: cut it after both holes and only just deep enough for the head to finish flush. Overcut, and the head pulls into the timber and crushes the fibres round it.
- Depth: drill the pilot at least as deep as the screw will go. A screw bottoming out in a short pilot hole snaps, and an 8 gauge brass screw snaps very easily.
Modern twin thread screws are sold as needing no pilot hole and that is true in chipboard and in softwood away from an edge. It is not true in oak, in beech, or within 50 mm of the end of any board.
Brass, steel and what actually breaks
Brass screws are soft. On anything but the smallest sizes they will twist off in a hardwood pilot hole, and the broken shank is then very difficult to remove. The traditional answer still works: drive a steel screw of the identical size first to cut the thread, take it out, and put the brass one in after. On a run of hinge screws that is five minutes well spent.
Slotted heads need a driver that fills the slot, both in width and in thickness. A driver that is too narrow tears the slot; one that is too thick rides up out of it and marks the surrounding wood. Any bench that uses slotted brass screws needs three or four drivers, and grinding the tip of a cheap one to fit a particular screw is a legitimate thing to do.
Wax, not soap
A rub of candle wax or beeswax on the thread halves the driving torque and removes most of the risk of snapping a brass screw. Soap was the old answer and it holds moisture against the steel, which corrodes the screw in place. Wax does not.
Choosing for the load, not for the box
A screw carries load well along its axis and badly across it. A shelf bracket, a hinge, a batten under a worktop: all of these load the screws in shear, across the shank, and shear strength comes from diameter rather than from length. That is the case for going up a gauge rather than up 10 mm.
Pull out strength, on the other hand, comes from thread length in solid material, so a fixing that will be pulled straight out wants length. The same distinction runs through the entry on wall plugs, where the plug only expands over the part of its length the thread actually reaches.
- Keep boxes of 3.5, 4 and 5 mm screws in two or three lengths each. That covers most of a house.
- Buy a countersink that fits an ordinary drill chuck, not a combination bit sized for one screw.
- Drive the last half turn by hand. A driver stops when the head is flush; a drill keeps going.
- Where a screw will be seen, line the slots up. It costs nothing and it is the difference between finished and assembled.
None of this is exacting work. It is a matter of knowing two numbers before the drill comes out, and of accepting that a pilot hole takes fifteen seconds and a split board takes an afternoon. Where the screw is doing the work of a clamp while glue sets, the choice of glue decides whether it stays in afterwards or comes out once the joint is solid.
Read next on the bench
The other fasteners and hardware entries are listed in date order in the section index.
Back to Fasteners and hardware