Hand tools
Setting up a new block plane out of the box
A new plane cuts after a fashion. Lapping the sole, flattening the back of the iron, easing the corners and setting the mouth turn it into a tool you reach for daily.
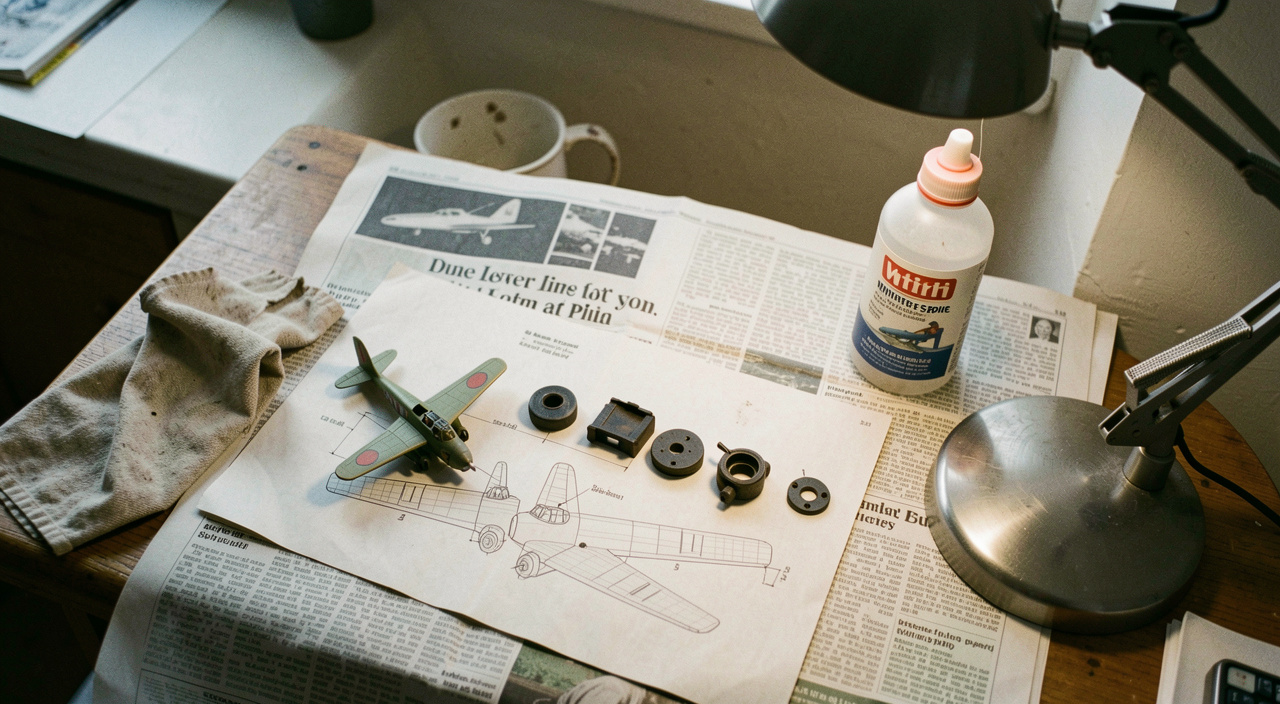
A block plane out of the box will cut, after a fashion. It will also have a sole that is not quite flat, an iron ground at whatever angle the factory found convenient and sharpened to about the standard of a butter knife, a mouth set wide enough to pass a shaving of any thickness, and a lateral adjustment that is nobody's idea of central. Forty minutes on the bench turns it into a tool that takes a shaving off end grain you can read a newspaper through.
The plane here is a low angle block plane, the common 140 mm pattern with an adjustable mouth and a 12 degree bed, which puts the cutting angle at 37 degrees with a 25 degree bevel. That low angle is the whole reason for owning one: it slices end grain rather than tearing it.
Take it apart first
Everything comes off: lever cap, iron, the front knob and the sliding mouth plate if it has one. New planes leave the factory with a film of protective grease and, very often, casting dust in the threads. Wipe it all off with white spirit and a rag, and pay attention to the bed the iron sits on, which must be clean and free of high spots.
- Run a fingernail across the bed. Any ridge you can feel is a ridge the iron will rock on.
- Check the mouth plate slides without binding, and that its screw pulls it down tight.
- Look at the lever cap's contact edge. It should touch the iron along its whole width.
- Turn the depth adjuster to both extremes and back. It should not bind or jump.
Lapping the sole
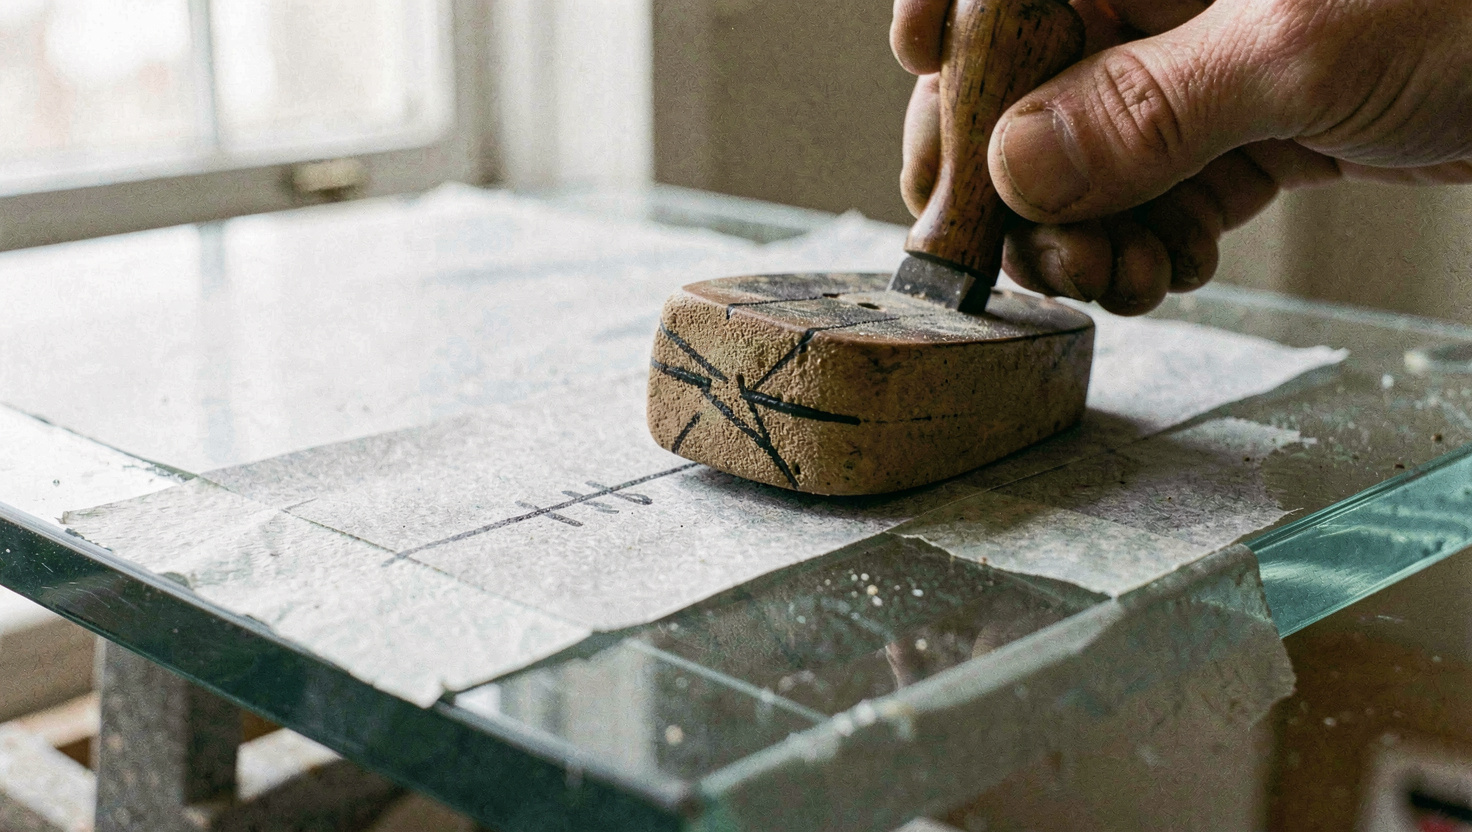
A block plane sole needs to be flat at the toe, at the mouth and at the heel. Stick a sheet of 120 grit wet and dry paper to a piece of float glass or a granite offcut with a spray adhesive or double sided tape, and rub the plane along it in long strokes with the iron fitted but retracted, under normal lever cap tension.
The tension matters. Tightening a lever cap distorts a small casting measurably, so a sole lapped without it will not be flat in use. Retract the iron so it cannot touch the paper, but leave everything else assembled.
Mark the sole with a permanent marker before you start and stop when the marker is gone from the toe, the area either side of the mouth, and the heel. A patch of marker surviving in the middle is fine. Then go to 240 grit and finish. Fifteen minutes is normal for a new plane; anything over half an hour means the sole was worse than it should have been.
The iron
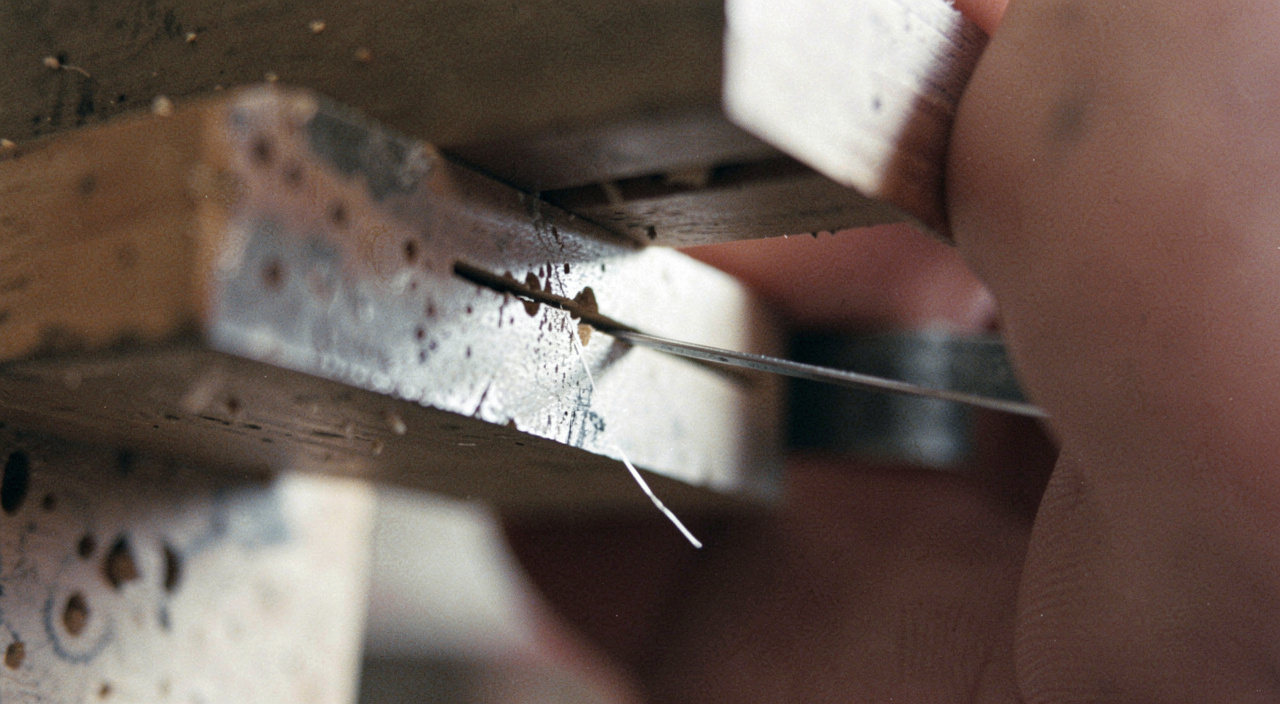
Flatten the back first, in the first 20 mm behind the edge, exactly as for a chisel. A block plane iron is bedded bevel up, so the flat back is the surface that faces the shaving and any hollow in it shows directly in the cut. This step is done once in the life of the tool.
Then the bevel. A 25 degree bevel on a 12 degree bed gives 37 degrees of cutting angle, which is what you want for end grain. Grinding it to 30 gives 42 degrees, which is calmer on difficult figured timber and slightly worse on end grain. Either is defensible; both need the same honing sequence as a chisel, because a plane iron is simply a wide chisel that is held for you.
Take the corners off. Two or three extra strokes on each corner of the edge, with the pressure shifted to that side, rounds them by a fraction of a millimetre and stops them leaving tracks in a wide surface. This is the small thing that separates a plane that finishes a board from one that scores it.
Setting the mouth
| Mouth opening | What it suits |
|---|---|
| Around 0.3 mm | Fine work, end grain, difficult grain. The mouth holds the fibres down ahead of the cut |
| Around 1 mm | General trimming and fitting, thicker shavings, less chance of choking |
| 2 mm and over | Removing material fast on softwood, and painted timber that clogs |
Set it by advancing the iron to the depth you want, then sliding the mouth plate forward until it just touches the iron and backing it off a hair. Lock it there. Then take a shaving and see. If the plane chokes, the mouth is too tight for the shaving thickness, and the two settings have to be adjusted together.
Where a block plane earns its place
It is a one handed tool, and it lives in the trouser pocket of anybody fitting things. Its real jobs are chamfering an edge, easing a drawer side, trimming end grain on a door edge or a shelf, taking the sharpness off an arris, and levelling a plug or a patch flush with a surface.
It is not a substitute for a bench plane. It has no cap iron, a short sole and a narrow iron, so it will follow a hollow rather than remove it and it will tear long grain on figured timber. Bought expecting it to flatten a board, it disappoints; used for what it is, it does more small jobs per week than any other plane on the bench.
Skew the plane on end grain
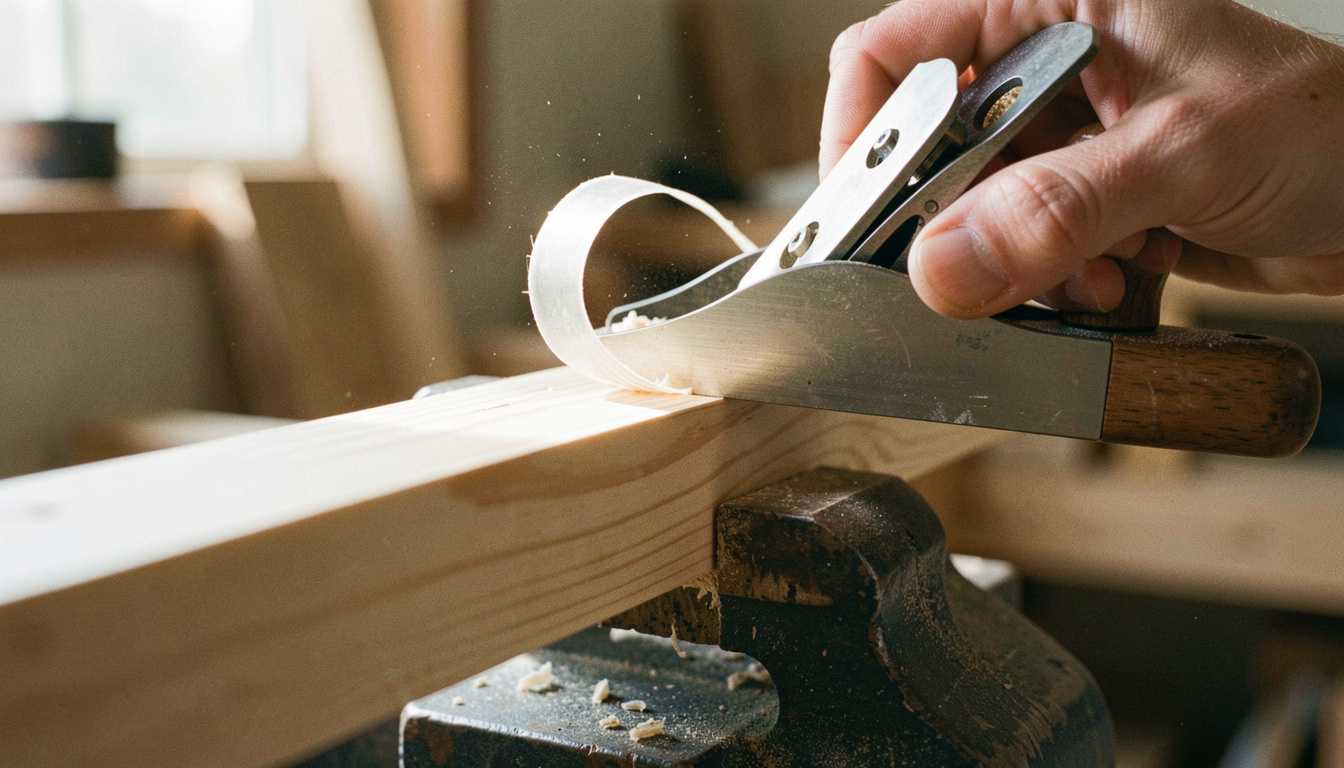
Holding the plane at 20 or 30 degrees to the direction of travel lowers the effective cutting angle and slices the fibres rather than pushing them. On oak end grain it is the difference between a shaving and a crumble, and it costs nothing to try.
Two habits keep it in that state. Wipe the sole with an oily rag at the end of a session, because a small casting rusts fast in a damp garage. And retract the iron before it goes away, so the edge is not sitting against whatever is next to it in the drawer, which is the same argument as the one for storing chisels properly.
Read next on the bench
The other hand tool entries are listed in date order in the section index.
Back to Hand tools