Sharpening
Sharpening a hand saw at home
Jointing, shaping, setting and filing, in that order, with a triangular file and two scraps of plywood for a saw vice. Why a rip saw is the one to learn on.
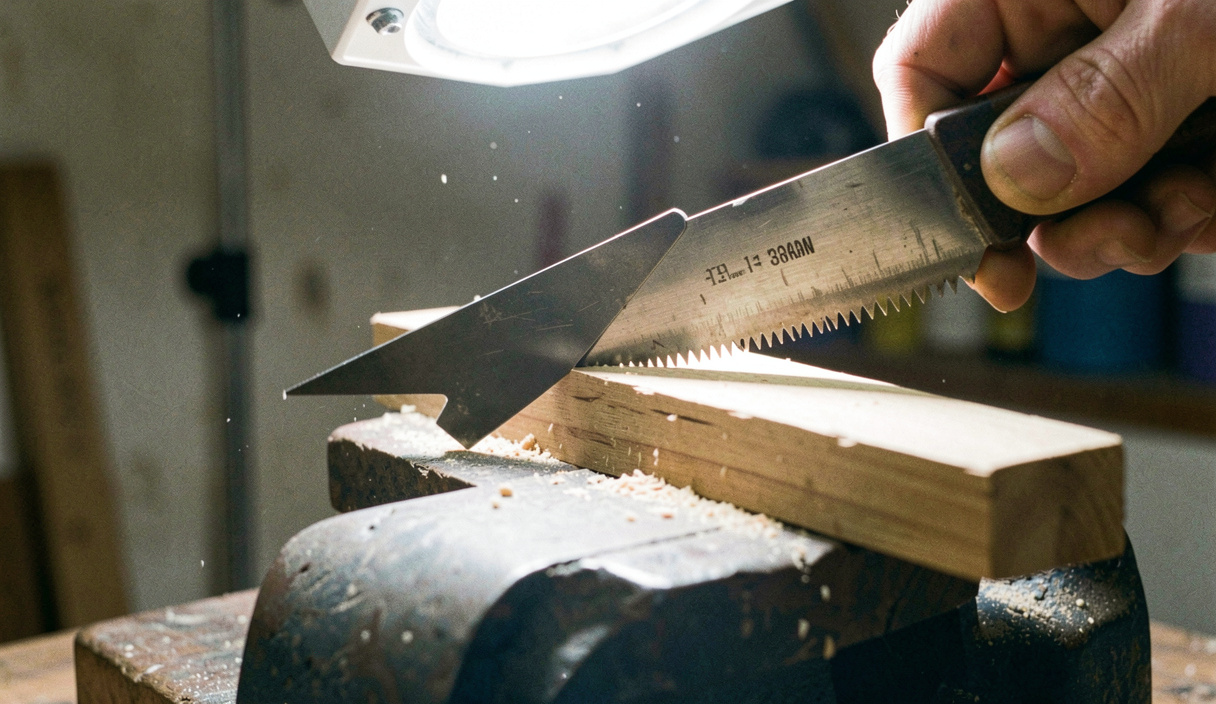
A hand saw is the one edge tool most people assume cannot be sharpened at home, and it is the cheapest one to learn on. A triangular file costs less than a takeaway, the tooth geometry is visible to the naked eye, and a saw that has been filed badly still cuts better than a saw that has been left blunt. Hardpoint saws are the exception: their teeth are induction hardened, a file skates off them, and they are consumable by design.
The saw here is a 26 inch rip saw with 5 teeth per inch, which is the easiest possible starting point. Big teeth, one simple shape, and a file that fits comfortably in the gullet.
Four operations, always in this order
| Step | What it does |
|---|---|
| Jointing | Files the tips of all the teeth to one straight line, so they all cut |
| Shaping | Files the gullets back until every tooth is the same size again |
| Setting | Bends alternate teeth left and right so the blade runs free in the kerf |
| Sharpening | Files the cutting faces to a keen edge at the correct angle |
Most saws that are merely dull need only the last step, and it takes about fifteen minutes. Jointing, shaping and setting come in when the teeth are uneven, when the saw wanders, or when it binds in the cut.
A saw vice from two offcuts
The blade has to be gripped along its whole length, close to the teeth, or it will chatter and the file will not cut. Two pieces of plywood or softwood about 600 mm long, with the top edges planed straight, clamped either side of the blade in a bench vice, does the job perfectly. Leave only 5 mm of blade standing above the jaws.
Work in good light with the tooth line at about eye level when you are standing. Being able to see the teeth clearly is most of the skill, and a magnifier or reading glasses helps more than any amount of practice.
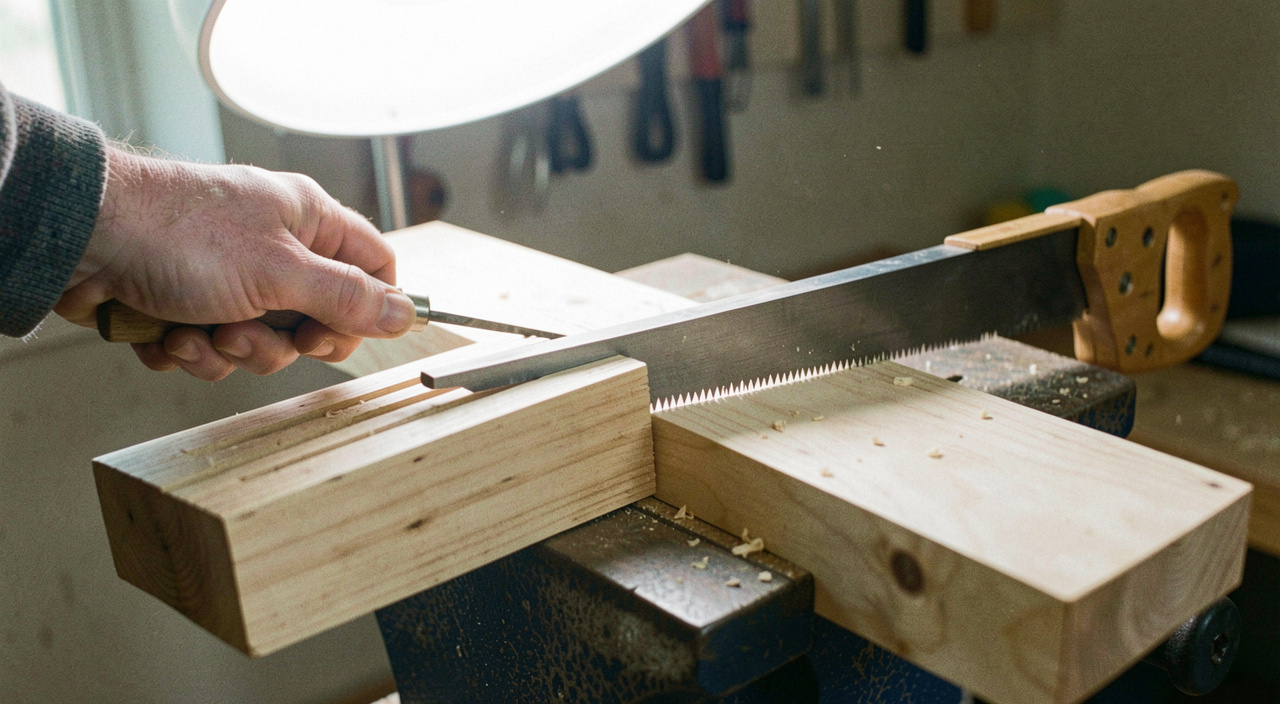
Jointing, and reading the flats
Run a flat mill file along the tooth line, held square, until every tooth shows a small bright flat on its tip. A block of wood with a saw kerf cut in it holds the file square and is worth the two minutes it takes to make.
Those flats are the map for the next step. A tooth with a wide flat is too tall and needs more filing; a tooth with no flat at all is too short and needs less. The aim of shaping is to file until every flat has just disappeared at the same moment.
Setting: less than you think
Set is the amount each tooth is bent sideways, and it decides how wide the kerf is. Too little and the saw binds; too much and it cuts a wide, ragged kerf and wanders. A saw for dry, seasoned indoor timber wants very little set, roughly one and a half times the blade thickness in total kerf width.
A saw set plier does it in one squeeze per tooth. Set the plier to the tooth count marked on its anvil, work along one side of the blade setting every other tooth, then turn the saw round and do the alternate teeth from the other side. Only the top third of each tooth is bent: bending at the root cracks teeth off.
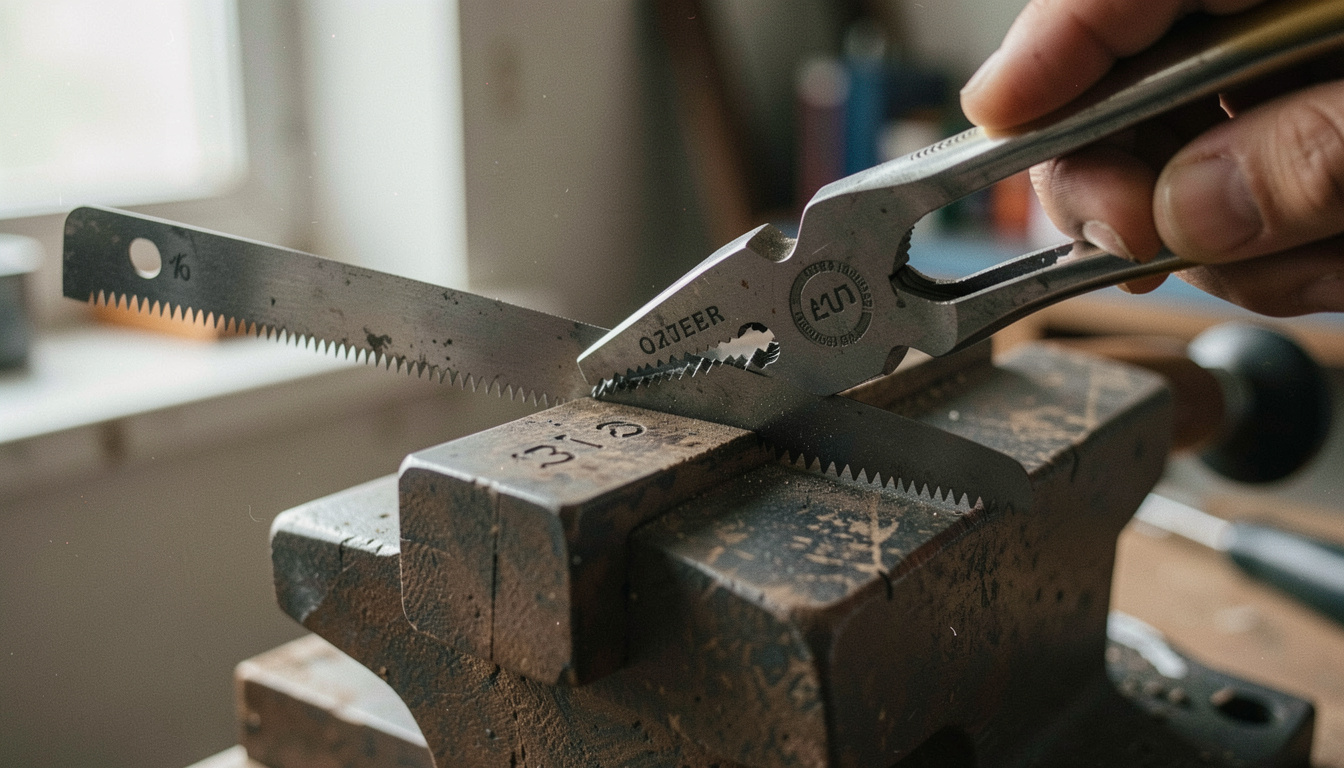
Setting comes before sharpening, never after
A set plier squeezes the tooth against an anvil and takes the fine edge off it. Do the setting first and file afterwards, and the saw comes off the vice sharp. Do it the other way round and you have blunted every tooth you just filed.
Filing a rip tooth
A rip tooth is filed straight across, square to the blade, with the file held level. Its front face ends up at 90 degrees to the blade line and it works like a row of tiny chisels. That is why a rip saw is the one to learn on: there is only one angle to hold and it is a right angle.
- Choose a file whose face is a little more than twice the depth of the gullet, so a fresh corner can be brought into use as the first wears.
- Start at the toe of the saw and work towards the handle, filing every gullet.
- Hold the file level and square, push it through the gullet with light pressure, and lift it on the return. A file cuts in one direction only.
- Count the strokes: two or three in each gullet, the same number every time, and watch the flat from jointing disappear.
- When a flat vanishes early, stop filing that gullet and carry on with the rest.
A crosscut saw is filed the same way with two differences: the file is held at about 15 degrees from vertical to give a bevel, and it is swung to roughly 65 degrees in plan so the teeth get knife points. Every second gullet is filed from one side, then the saw is turned and the rest are filed from the other. Once the rip saw feels comfortable, that is a straightforward extension.
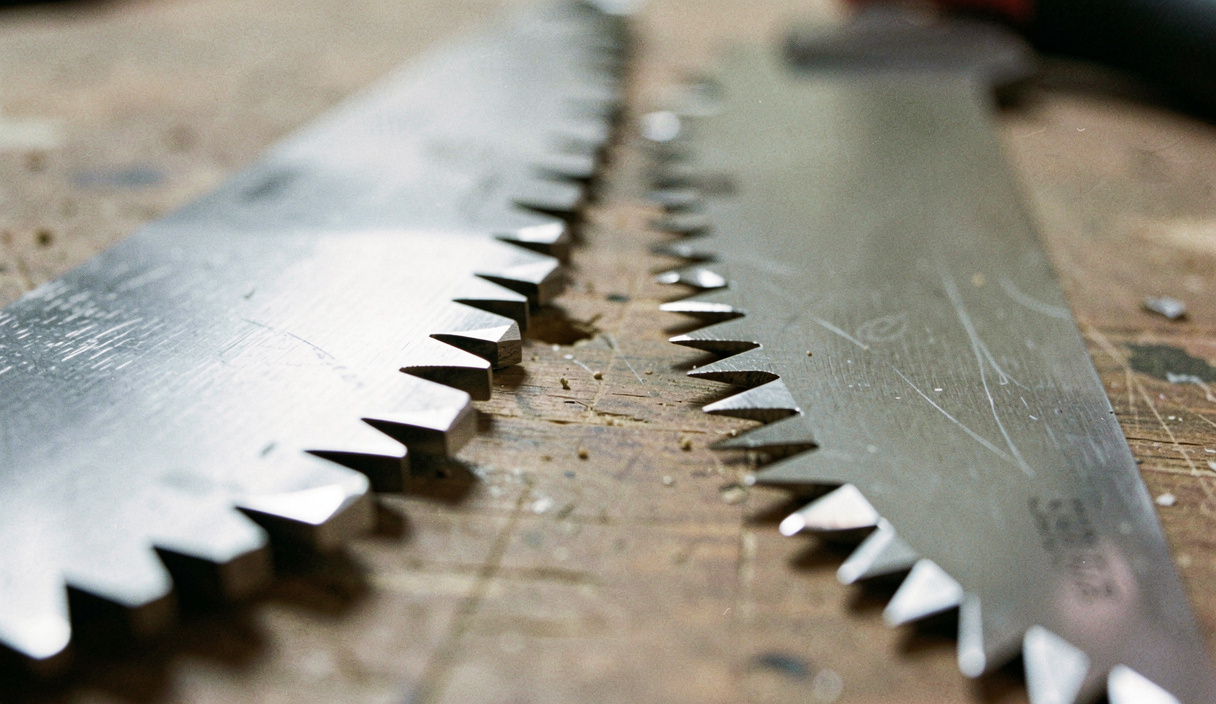
Testing, and what a sharp saw feels like
Take the saw off the vice and cut a piece of scrap. A properly filed rip saw starts without skating, tracks the line without being steered, and produces long shavings rather than dust. It should feel as if it wants to go, and the sound should be even.
- If it drifts consistently to one side, one side has more set than the other. Stone the high side lightly with a fine oilstone.
- If it binds, there is too little set or the timber is wet.
- If it jumps out of the cut at the start, the teeth at the toe may be too big or too sharply set.
- If it is noisy and rough, the teeth are uneven and it wants jointing again.
A saw filed at home will not match a professional saw doctor's work for the first few attempts. It will still cut better than the blunt saw it replaced, and each filing is quicker than the last because the geometry is already there. Wipe the blade with an oily rag before it goes away, and hang it rather than leaving it in a drawer, for the same reason edge tools get their own storage: teeth that touch other steel are teeth that need filing sooner.
Read next on the bench
The whole run of sharpening entries sits in date order in the section index.
Back to Sharpening